MAKEUP ROUTINE
 I did the unthinkable yesterday by appearing without makeup when I uploaded my skincare routine. So, while everybody is still in shock, I thought I might as well video my makeup routine. Most of you have been using makeup for years and years, so I doubt if I will be showing you something new. But, I have gotten requests to share what products I use, so here goes nothing. Lol!After I do my skincare routine, I then start my makeup. First, I apply CC Cream, instead of foundation. I use It Cosmetics CC Illumination w/spf 50 in the shade medium. This is a full-coverage, anti-aging hydrating serum. I use a Sigma F80 Flat Kabuki brush to apply the CC Cream (1 1/2 pumps) in a stippling motion. All my makeup brushes are by Sigma. Next comes the concealer. Always apply concealer after your foundation. I use Urban Decay’s Naked Skin complete coverage concealer in the shade light-warm. I use the large fluff Sigma E-50 brush for applying the concealer. I apply the concealer in the triangle area that extends from the outer edge of your eye, down to the mouth, and then back up to the inner eye. After you have stippled in the concealer, use a Beauty Blender to remover any excess product. Excess product will settle in fine lines, and make them more noticeable. To set my foundation and concealer, I use a transparent finishing powder by Mac Cosmetics called Prep & Prime. I apply this powder with a Sigma F10 powder brush.
Now comes the fun stuff. It is time to start sculpting your face. I have “chubby bunny” cheeks. So, I need to create the illusion of cheek bones. I start with Kat Von D’s Shade and Light palette. I use the NARS Kabuki Ita brush to apply the colors. I mix two of the dark shades together to get the color I want, but you do not have to. Start at the top of your ear, and place a line toward the corner of your mouth. Don’t worry that this is a dark line, you will blend it in till it looks more natural. I blend upward, and extend up my forehead into my hairline. I also use this same color to trace a line under my jawbone. This creates a shadow, making my turkey neck area disappear more. After that, take the same brush and use the light colors to fill in under the dark color line to the base of your chin. Apply plenty of this light color, and just let it sit there till you are completely finished with your entire face. This is called baking. Next is my blush. I use a Sigma F15 blush brush to apply my blush. I once again mix two colors together. I use Makeup Geek blushes and eyeshadows. If you have never heard of Makeup Geek, you are going to thank me later. Their products are super affordable, and very highly pigmented. When you apply the blush or eyeshadow, you can see it! Spell Bound and Rendezvous are the two shades I use in the spring and summer. Come fall, I will stop using Rendezvous, and instead use a more peachy shade. I apply the blush along the outer edge of the triangle we made under the eye. This ensures that area stays bright. Apply with a heavy hand and let it sit. We will blend it in at the end when we blend in the light color we left baking.
Time for the eyes. I usually do my eyeshadows first, but not always. I use several different shades, depending on my mood, but here is one of my favorite combinations. All these are Makeup Geek shadows. Apply all over the lid, from the base all the way to the brow, Peach Smoothie. I don’t use a eyeshadow primer, I use this instead. In just the outer edge of the eye, I apply Creme Brulee. Next comes Barcelona Beach also in the outer edge and extending into the crease and just a hair above the crease line. And the last shade I use is my favorite. I use this shadow everyday, no matter what eyeshadow color I use. It is called Shimma Shimma. Apply this color right under the eyebrow, from the arch outward. Also, apply this to the inside corner of your eye to brighten that area. I use the following Sigma brushes for my eyeshadows, E35, E25, and E45. After I have all the shades applies, then I blend them together to create a seamless color, you do not want any harsh lines.
Let’s talk eyeliner! My favorite eyeliner is one I had never heard of till I received it one of my monthly beauty boxes. I don’t know if it came from Ipsy or Birchbox, but it was one of them. It is Doucce smudge proof eyeliner in black. I am having trouble uploading my video (big surprise) but it is almost impossible to describe how to put on eyeliner without showing you. Cross your fingers, yet again. Then I apply Stila Huge mascara in extreme black, starting at the base of the lash, and wiggling upward. Make sure you coat the lashes really well, but please do not have spider eyes. No glopping on of product allowed!!! NOW, it is finally time to remove some of the excess contouring powder and blush. I use the Sigma F20 large powder brush and blend everything, till I am satisfied with the results
Finish up your face with lip stain. I first outline my lips, generously, with an Urban Decay 24/7 glide on lip pencil in the shade manic. Then fill in the lips with the lip stain. In the video, I used Revlon ColorStay in the shade All Night Fuchsia. To make my lip stain look crisp, I go outside the lip line with a Mac NC15/NW20 pencil. This pencil is a creamy color, and I use it also to line inside the bottom lash line of my eyes. After you line the outside of your lips, blend the color into your skin for no harsh line. Now, lets finish the face with Urban Decay’s All Nighter setting spray. This stuff is great! It really helps your makeup to stay put.
That’s it! My sister can’t believe I take all these steps, she says it takes her 5 minutes to put on her makeup. It takes me that long to decide which eyeshadow I want to use. Haha I do have a pared down version, for when I am running late. But it normally takes me about 30 minutes to put on my makeup and another 10 minutes to do my hair.
Thanks gurls for all the sweet comments and shares on my blog post. If you have not already entered to win one of two Plunder gift certificates, go here. I forgot to tell everyone, the winners will be announced on next Wednesday’s post. ALSO, I am going to throw another 20.00 certificate in the mix on Friday. Just wait till you see how that one is going to be…..
Anytime you would like to share my posts on Facebook or Twitter, I would appreciate that. It helps get my blog out to more people, and I am sure you just want to spread the entertaining sayings I have. Lol!
The comment section is at the end of the post, so keep scrolling. I look forward to reading all the comments, they make my day.
This is also something I WANT and NEED: I have added a subscription button to the blog, right under the recent posts tab. I would appreciate it if you would take the time to sign up. You will then be notified by email when a new post is made.
Be sure to follow me on Pinterest, Bloglovin, Instagram, and Facebook.
Today’s link-ups can be found in the tab at the top of the page.
Please be aware that links to vendors may be affiliate links. I do benefit from your purchases through the links on the blog.
Do you have a tutorial for an “evening” or “night out” look? When you’re a little more exaggerated? I’m an old singer & recently get to perform on stage with my vocal coach. Do you have any suggestions for stage makeup?
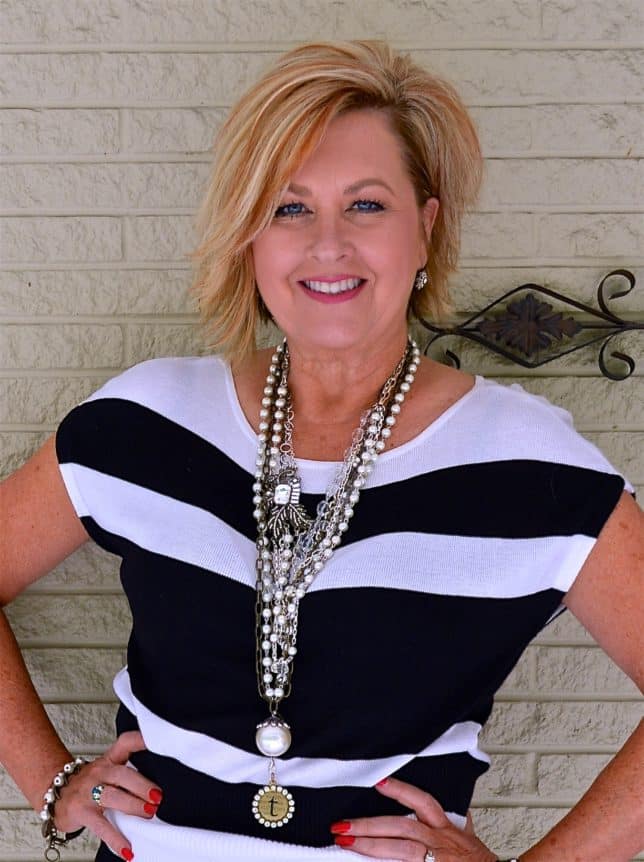
Love the makeup presentations and information. Also, love the black and white shirt you have on, is there a link on where to get it? Thanks, love your blog!!
What do use to tan with and how do you use it? I do really enjoy your blog!
Marcella, here is the link to my post on what I use, and the method I apply my faux tan.
https://50isnotold.com/2016/03/16/apply-faux-tan/