
My Everyday Makeup Routine From Sephora at Kohl’s (Easy, Polished, and Over-50 Friendly)
Let me start by saying this: none of this is complicated makeup. I’m not contouring like a Kardashian or baking like I’m on a cooking show. This is my real, everyday routine. The kind of makeup I wear when I’m running errands, meeting friends for lunch, or trying to look awake on a random Tuesday. Lol!
The Finished Product and What I Used
I’m partnering with Sephora at Kohl’s today to share the beauty products I actually reach for, and I’ll walk you through exactly where and how I use each one. If makeup feels overwhelming or you’ve hit that stage where “less is more” finally makes sense, this routine is for you.
Step 1: Lock Everything In With Setting Spray (Yes, First)
Charlotte Tilbury Airbrush Flawless Hydrating Waterproof Setting Spray
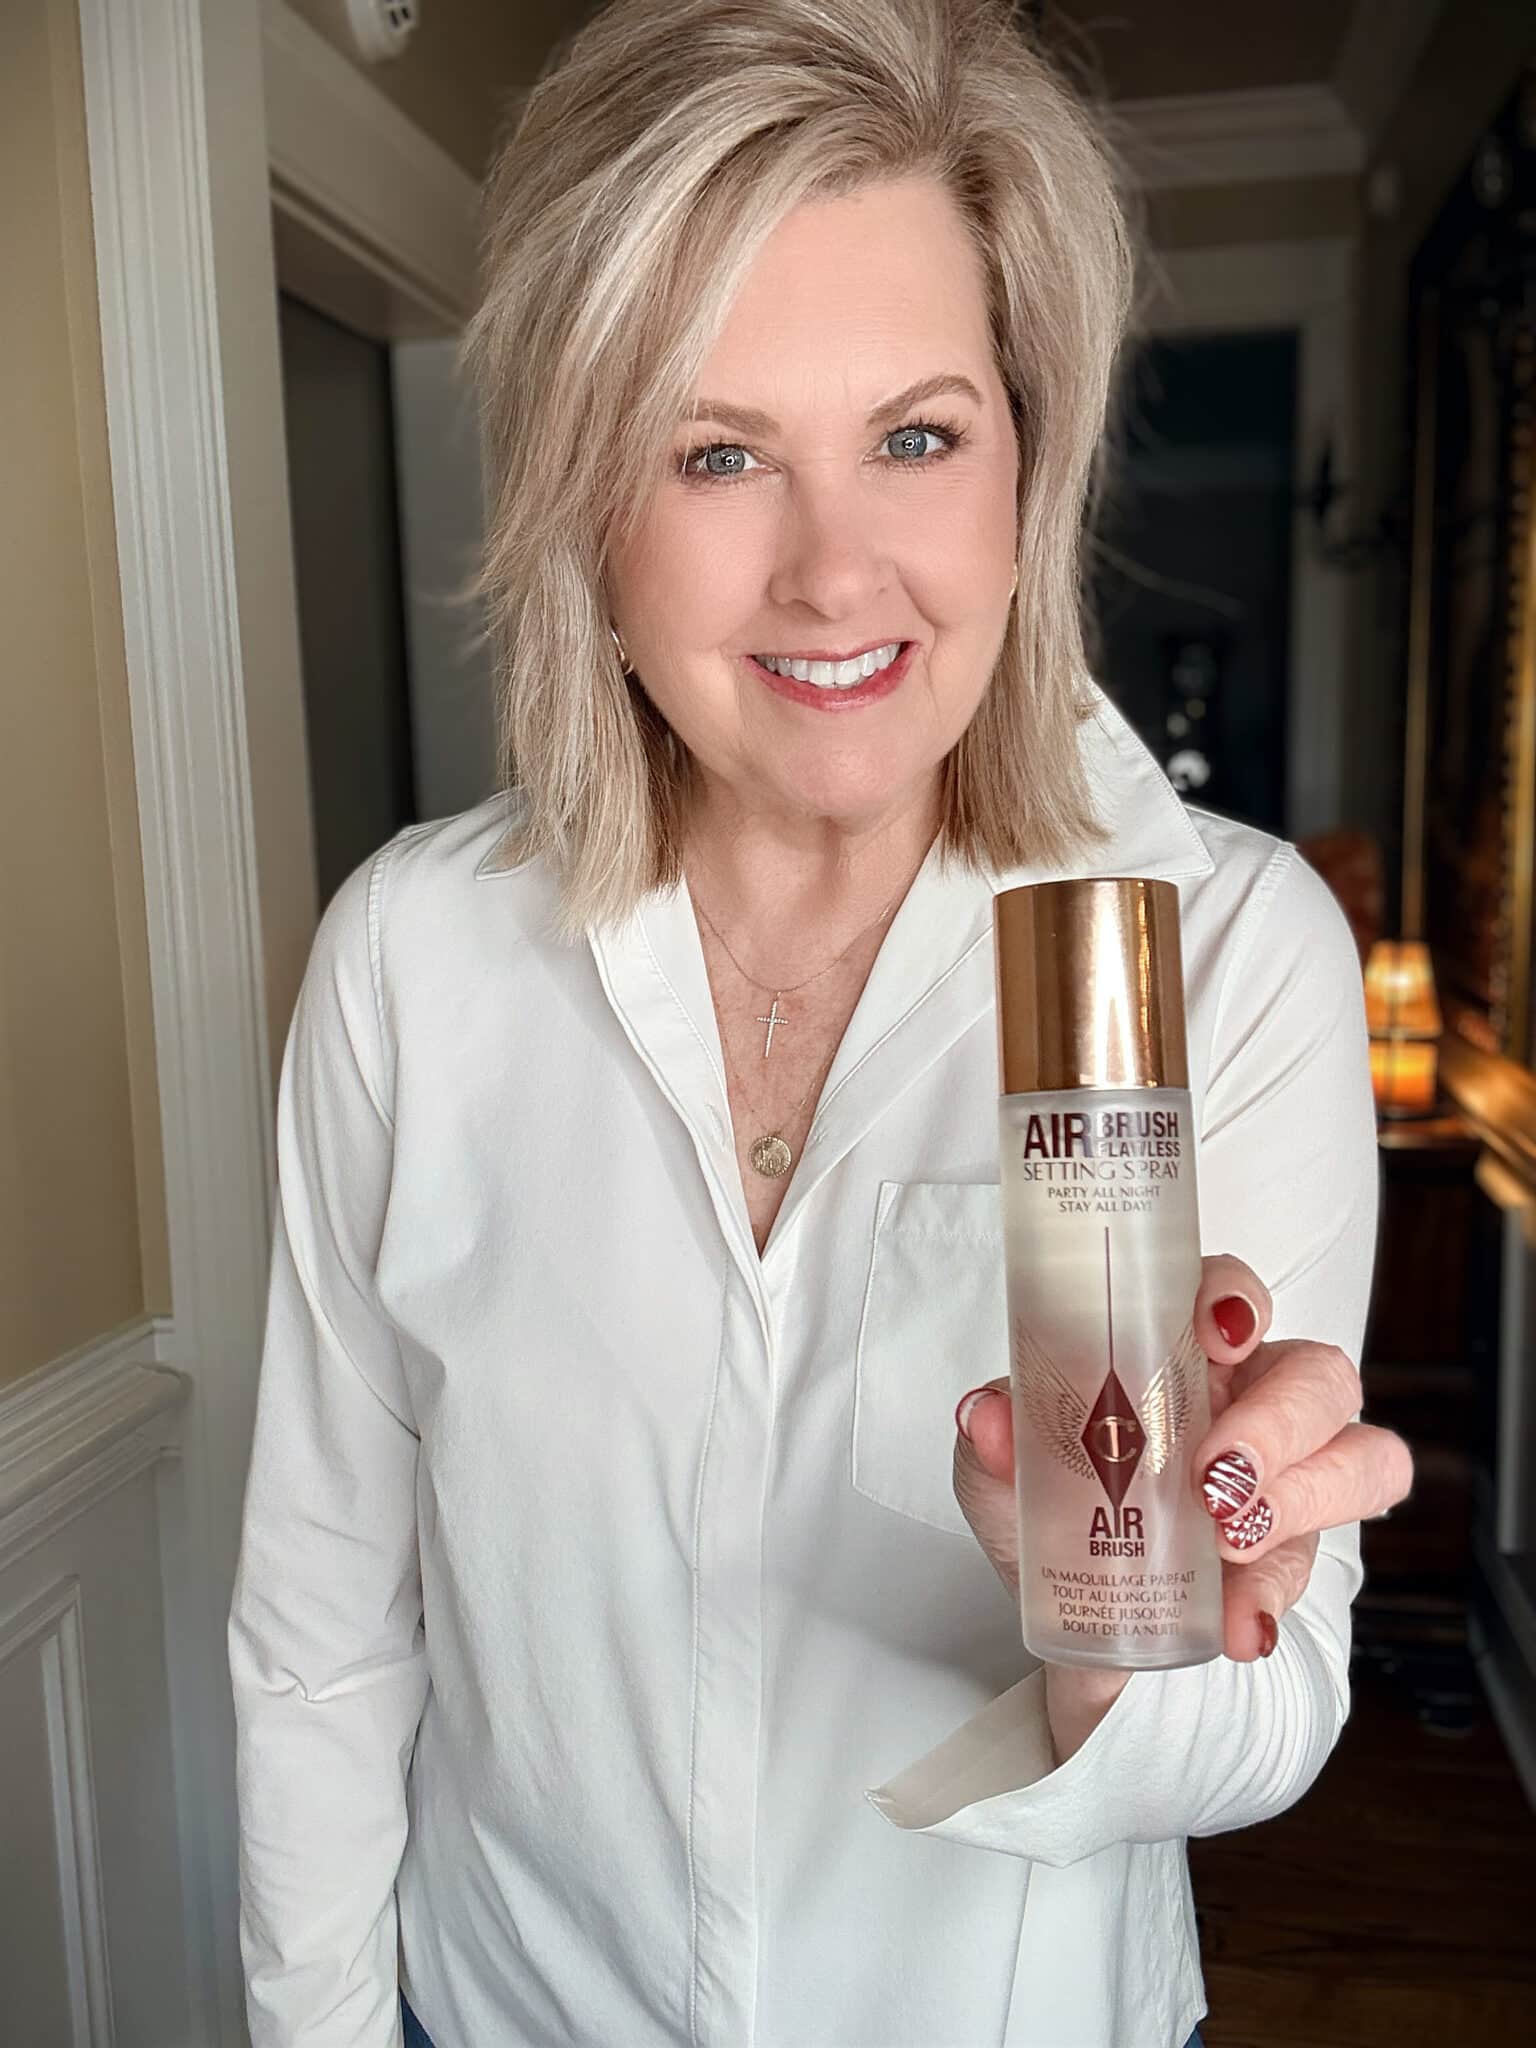
This might surprise you, but I use this Setting Spray twice. Once at the beginning and once at the end. I lightly mist this on clean skin before anything else. It gives my face a slightly tacky base, so makeup grabs on better and doesn’t slide around.
I hold the bottle about arm’s length away and spray in an X and O pattern. Close your eyes, take a breath, and don’t overthink it. This spray keeps makeup from settling into fine lines and helps everything last longer, which matters when you’re over 50, and your face doesn’t forgive mistakes like it used to. Ask me how I know.
Step 2: Smooth and Protect With Primer
Charlotte Tilbury Invisible UV Flawless Primer SPF 50
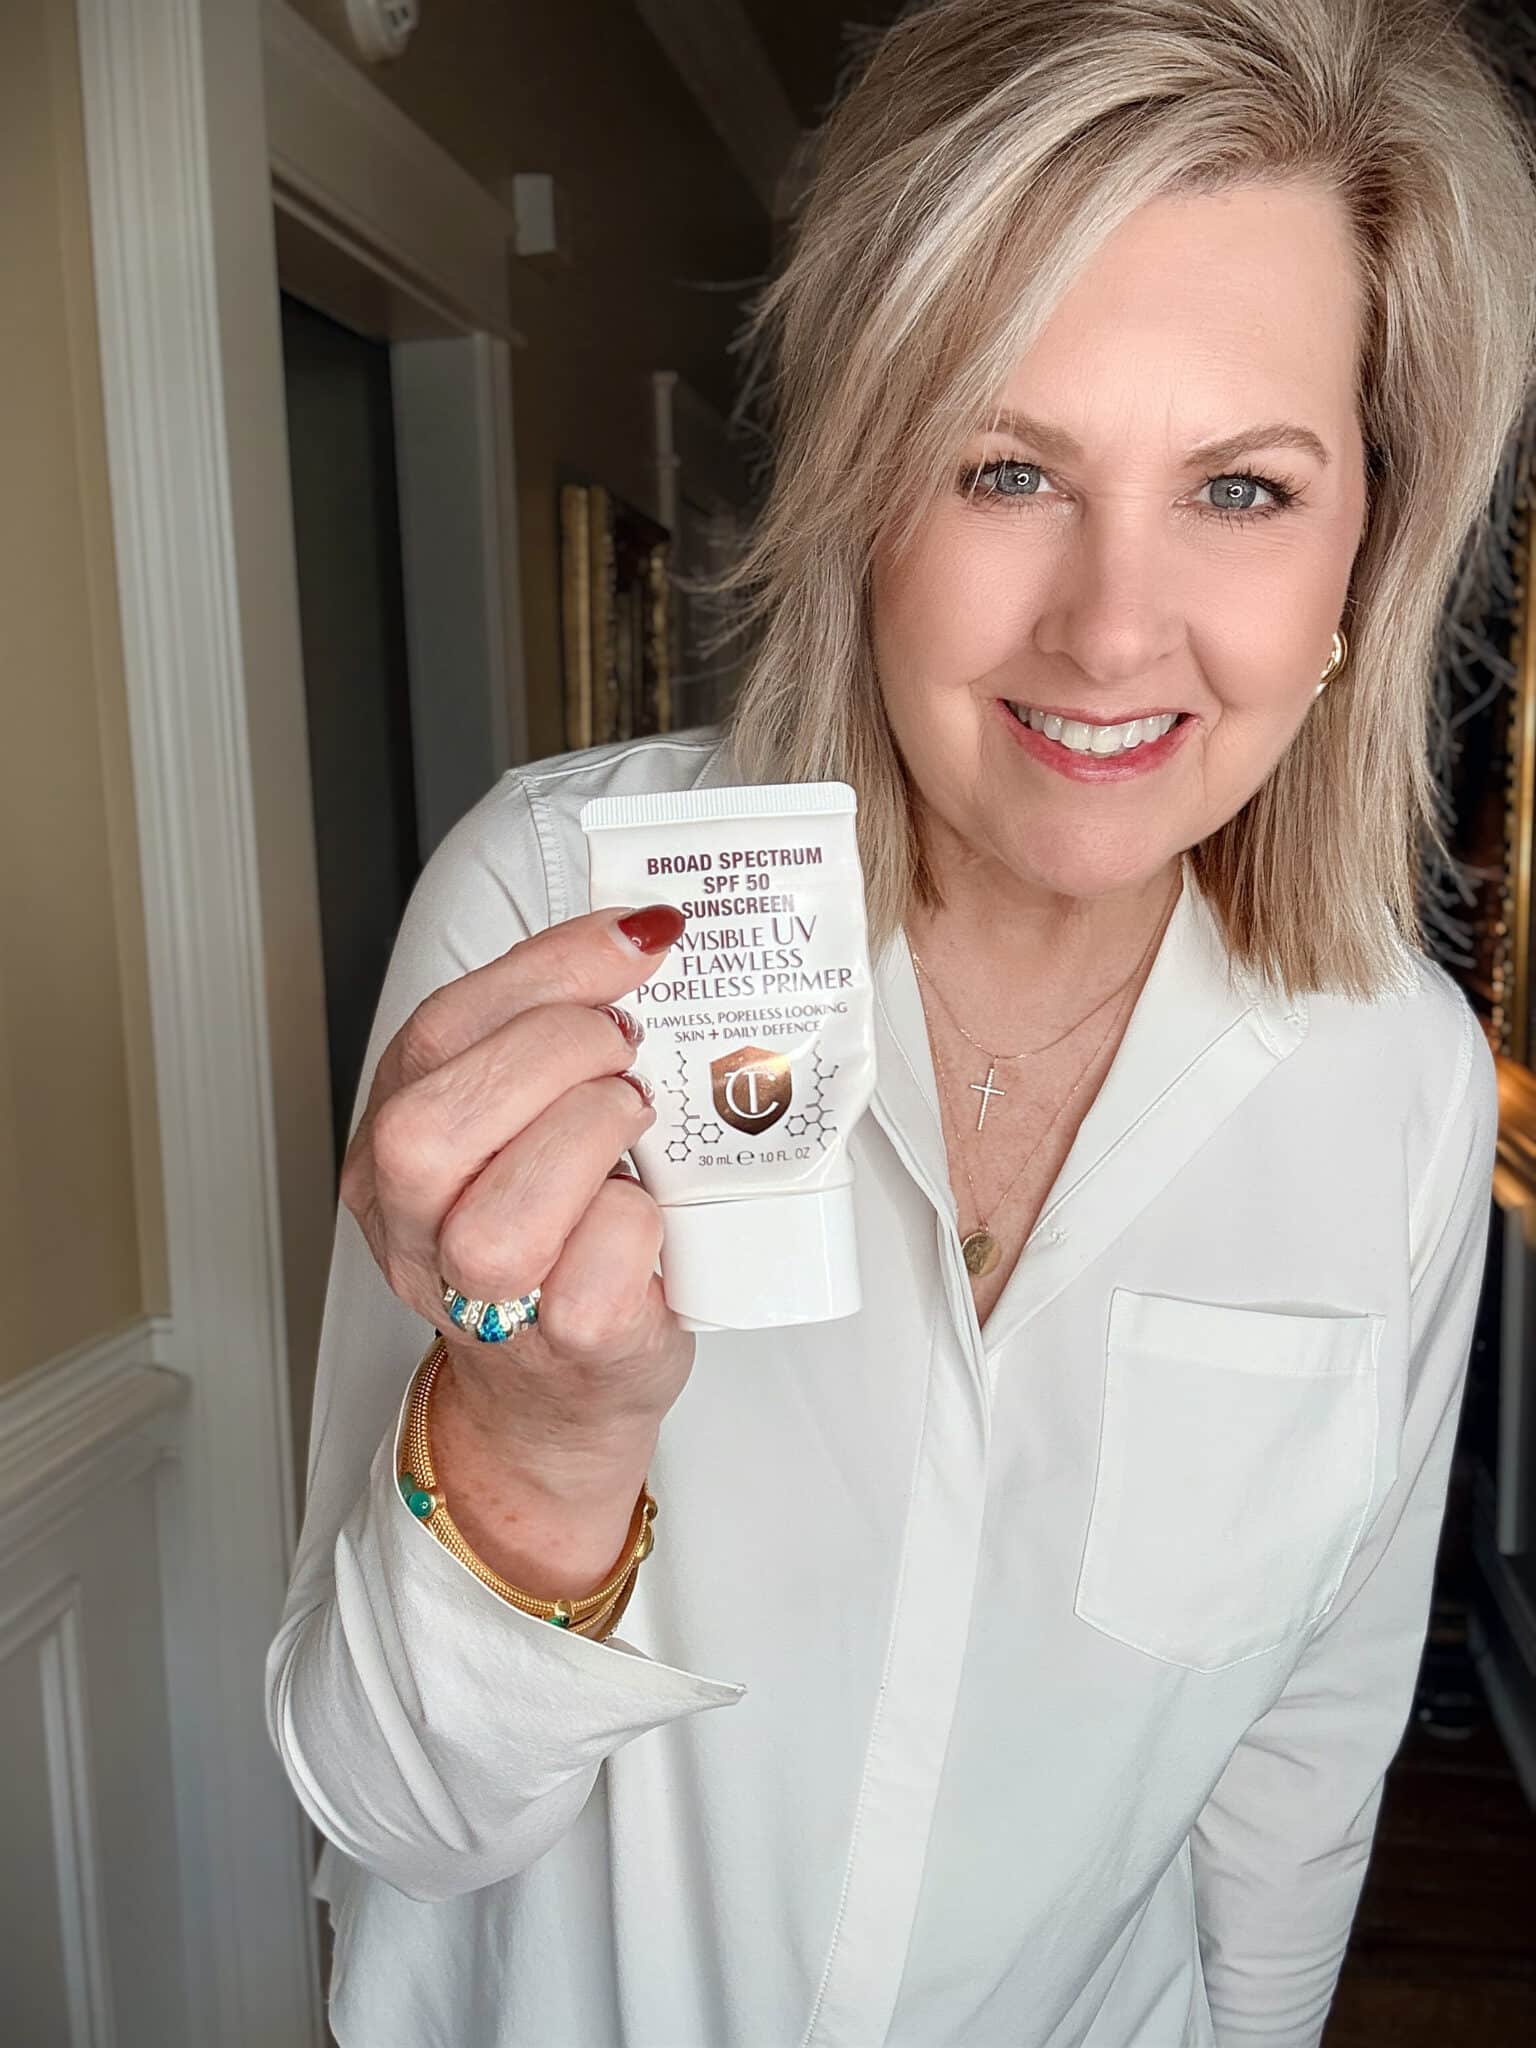
This Flawless Primer is my sunscreen and primer in one, which I love because I’m all about cutting steps. I use about a nickel-sized amount and smooth it over my face with my fingers, focusing on my cheeks, nose, and forehead.
This helps blur pores and gives makeup a smoother canvas. It also keeps foundation and concealer from clinging to dry patches. If your skin has texture, redness, or uneven tone, this step makes a noticeable difference.
Step 3: Add Soft Shape Without Looking “Done”
Charlotte Tilbury Hollywood Contour Wand
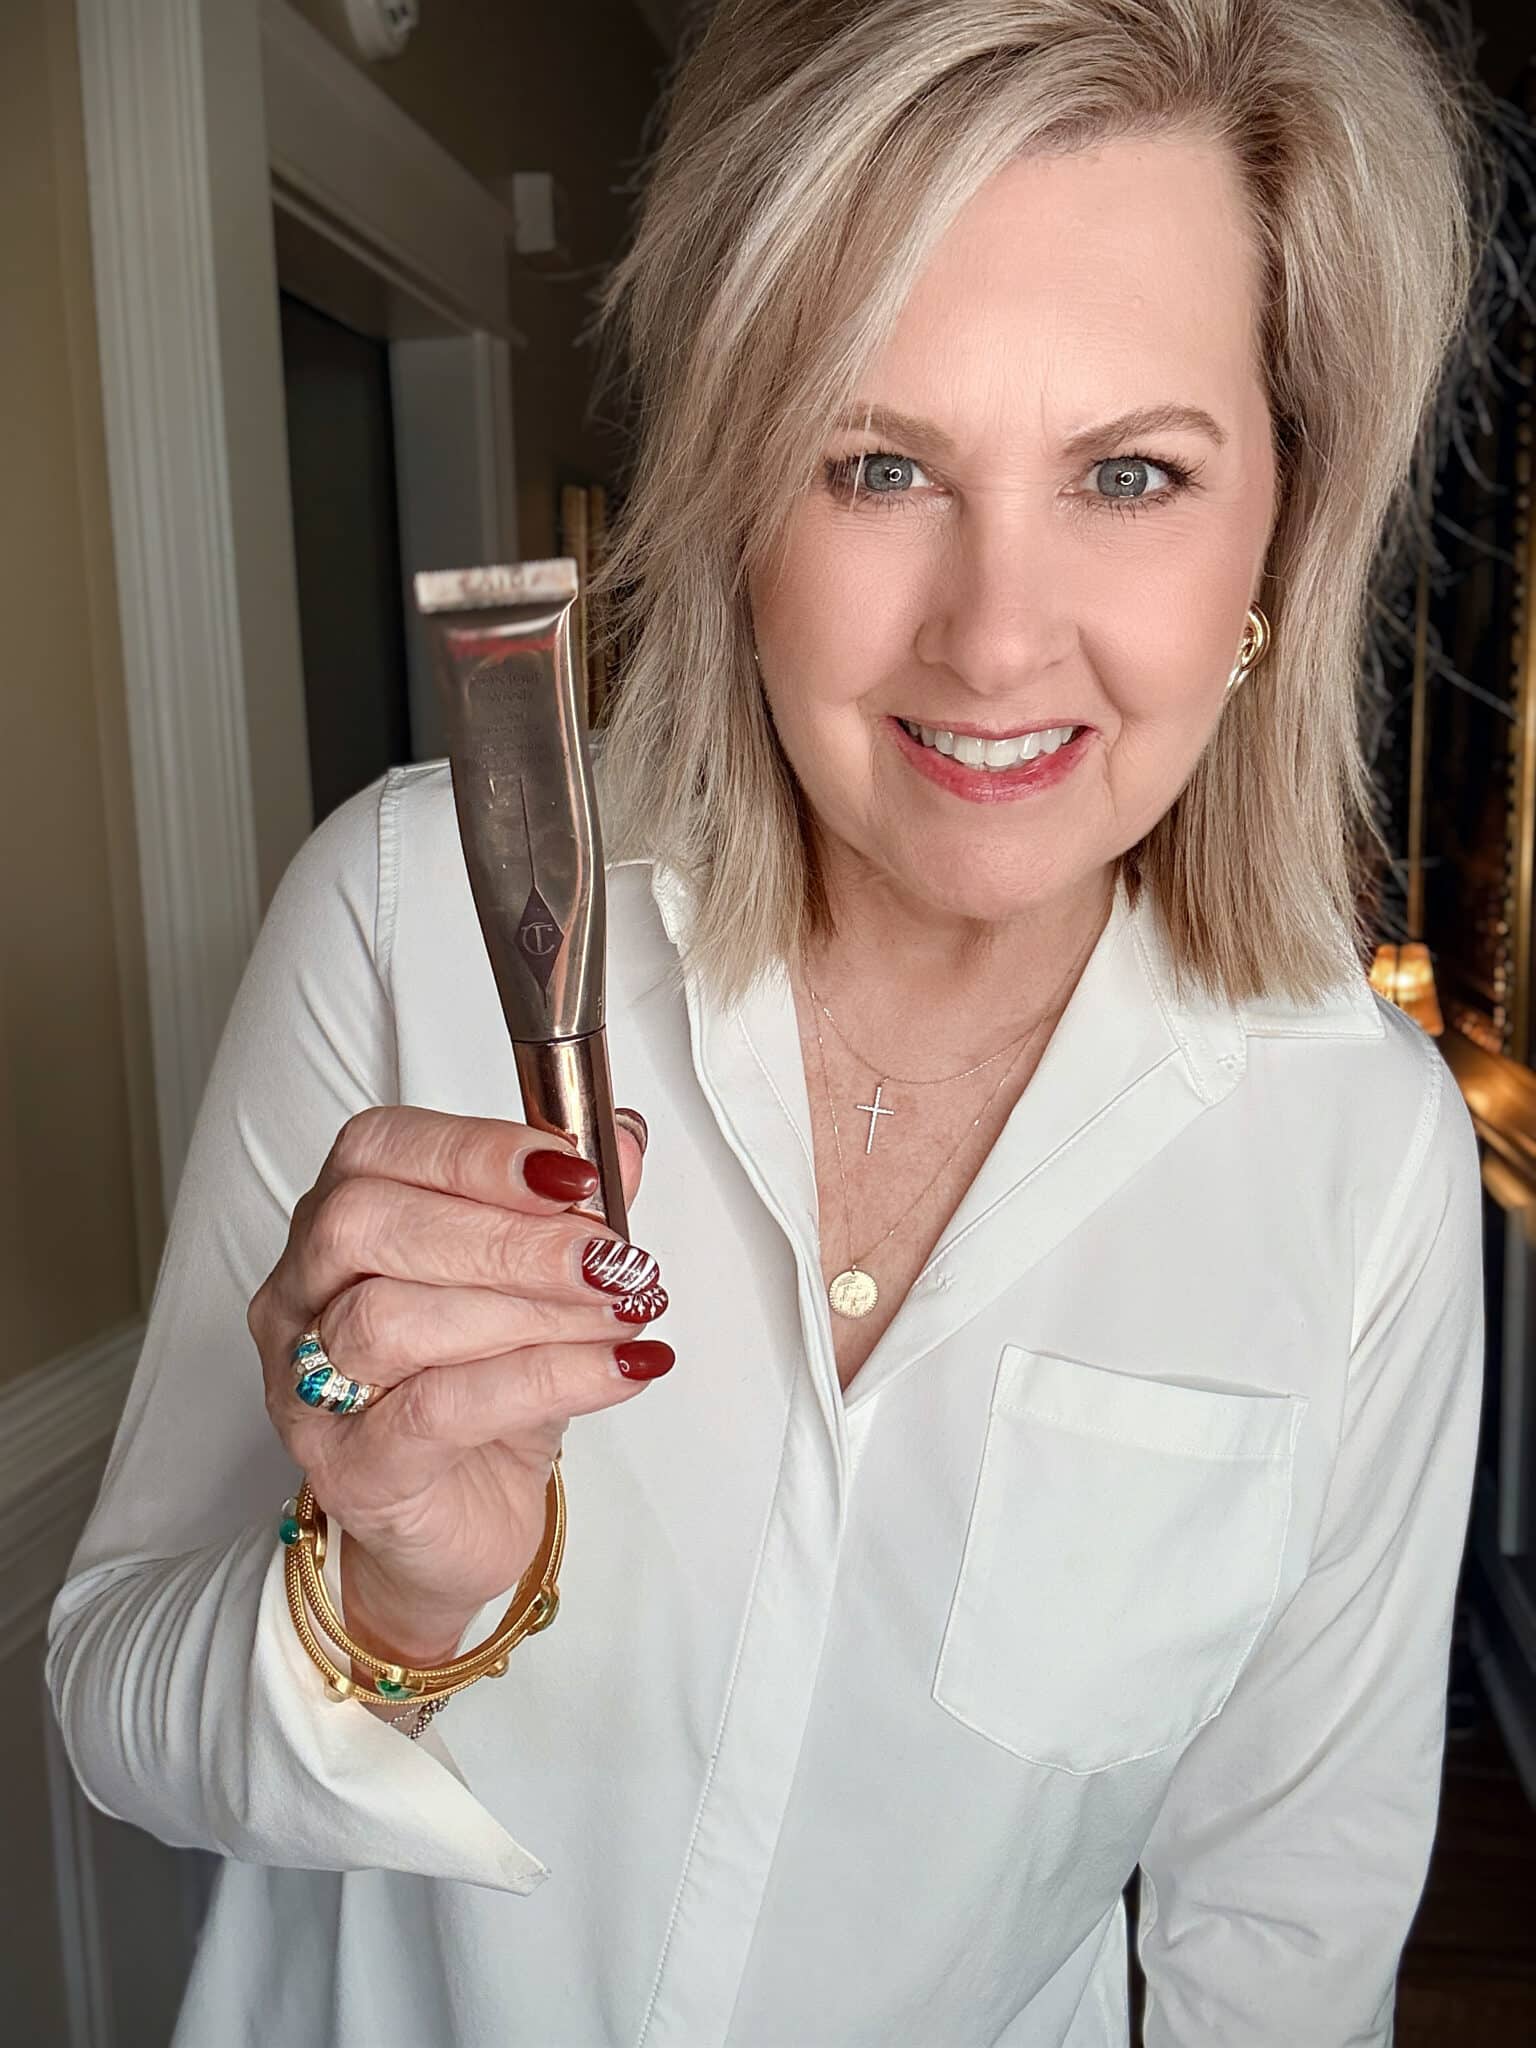
I’m very light-handed with Contour. This is not about changing your face. It’s just adding a little warmth and definition so you don’t look flat.
I dab a tiny amount along the hollows of my cheeks, just under the cheekbone, then blend upward with a brush or sponge. I’ll sometimes add a small dot along the sides of my nose and blend it out, but only if I’m feeling fancy. Less is always better here.
Step 4: Brighten the Under-Eye (Gently)
Tarte Maracuja Creaseless Full Coverage Radiant Undereye Concealer
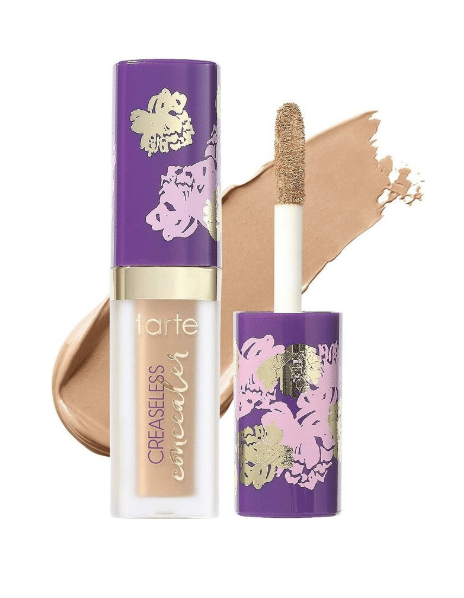
This Undereye Concealer is one of those products I’ve repurchased because it works. I place a small amount at the inner corner of my under-eye and lightly tap it out with my ring finger or a sponge.
The key is not dragging or layering too much. This concealer brightens without looking heavy and doesn’t settle into lines if you keep it minimal. I also use a tiny bit around my nose if I have redness.
Step 5: Set Strategically, Not Everywhere
Huda Beauty Easy Bake Blurring Loose Baking & Setting Powder
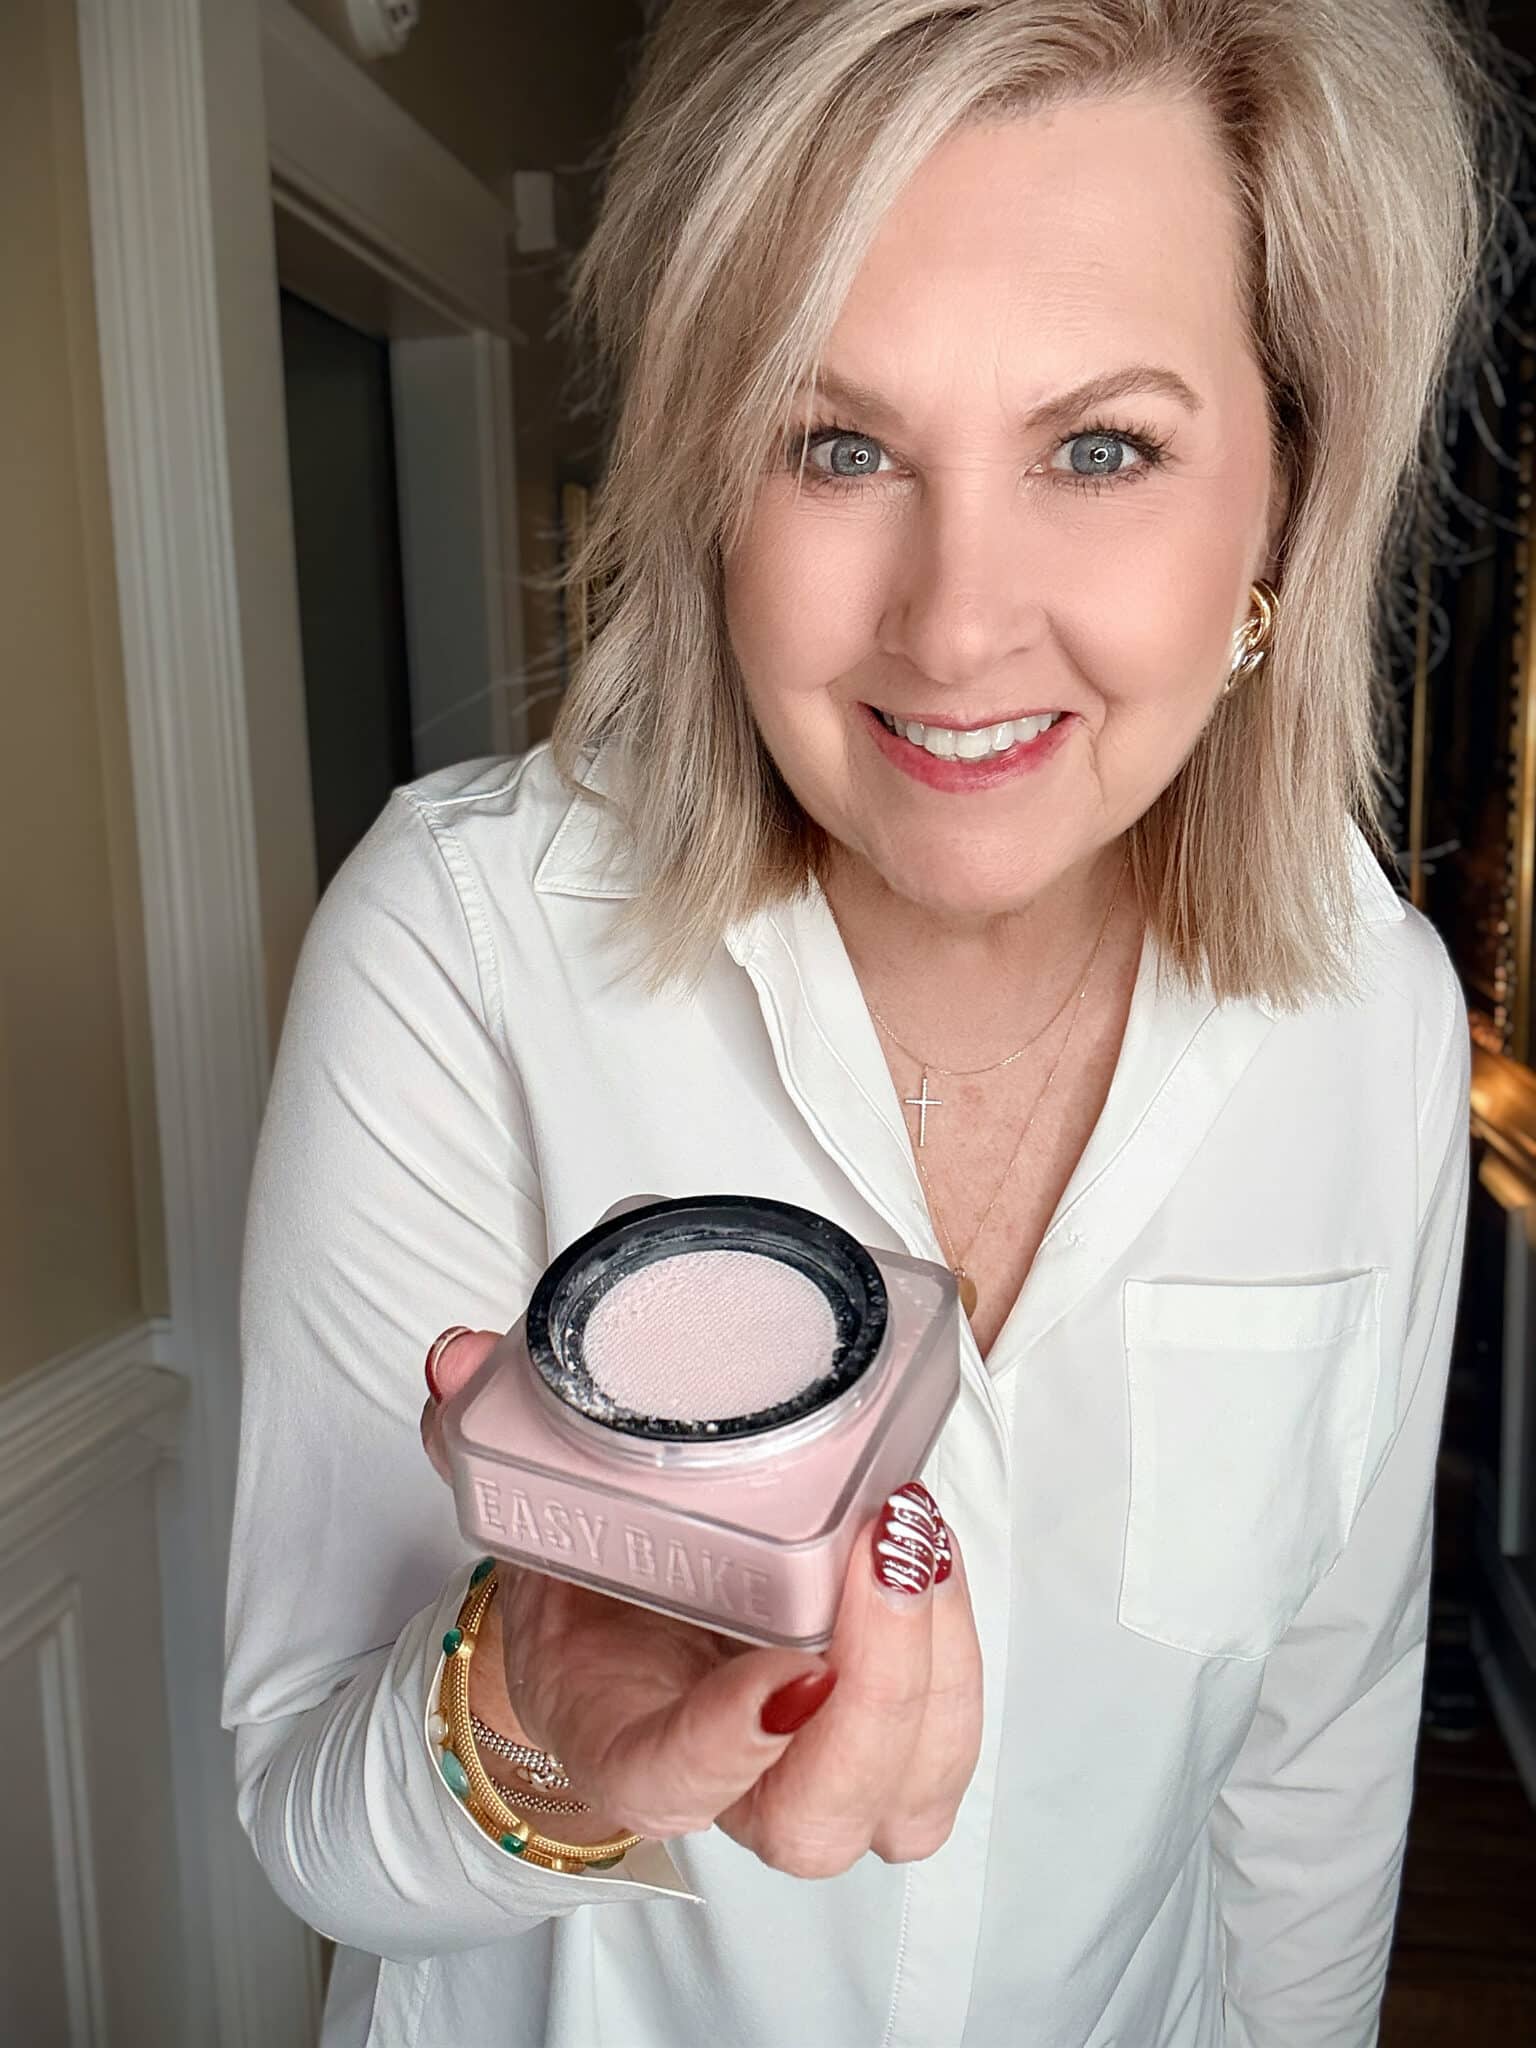
I do not bake my entire face. Ever. I use this Baking & Setting Powder only where I need it, under my eyes and around my nose, and sometimes to set creams or liquids. This is the first time I’ve tried this pink shade, and I like the effect it gives.
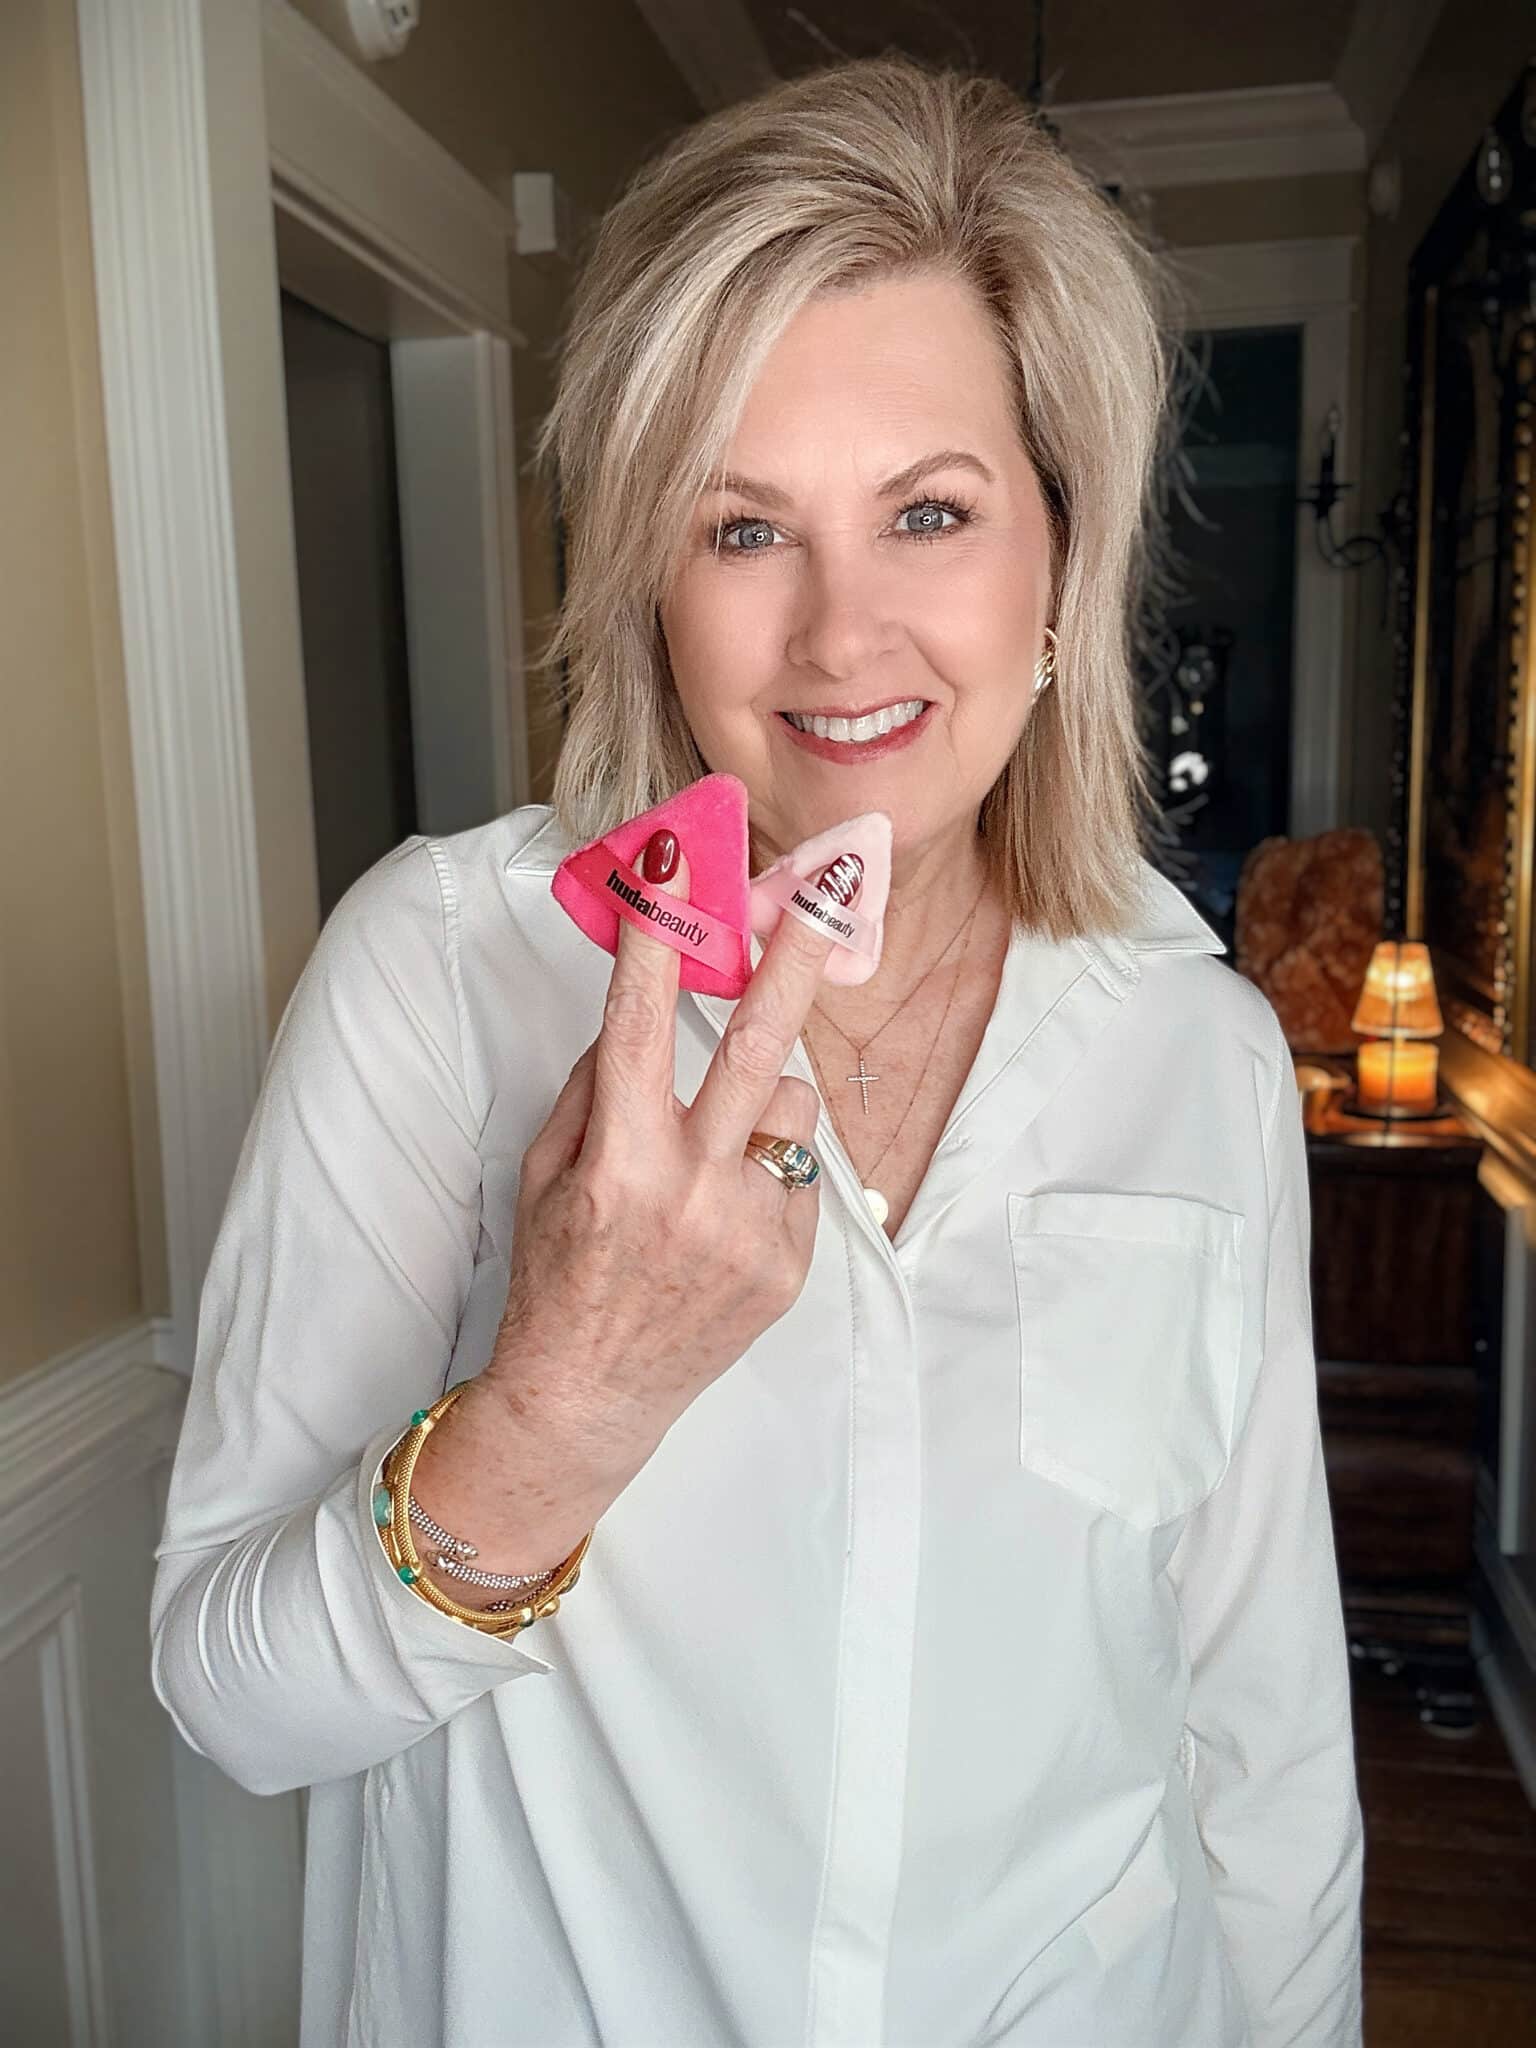
I dip the Huda Beauty Easy Bake Powder Puff Duo into the powder, tap off the excess, and gently press it into those areas. Pressing is better than sweeping. It keeps makeup in place without emphasizing texture.
Step 6: Add a Natural Flush
Charlotte Tilbury Cheek to Chic Blush
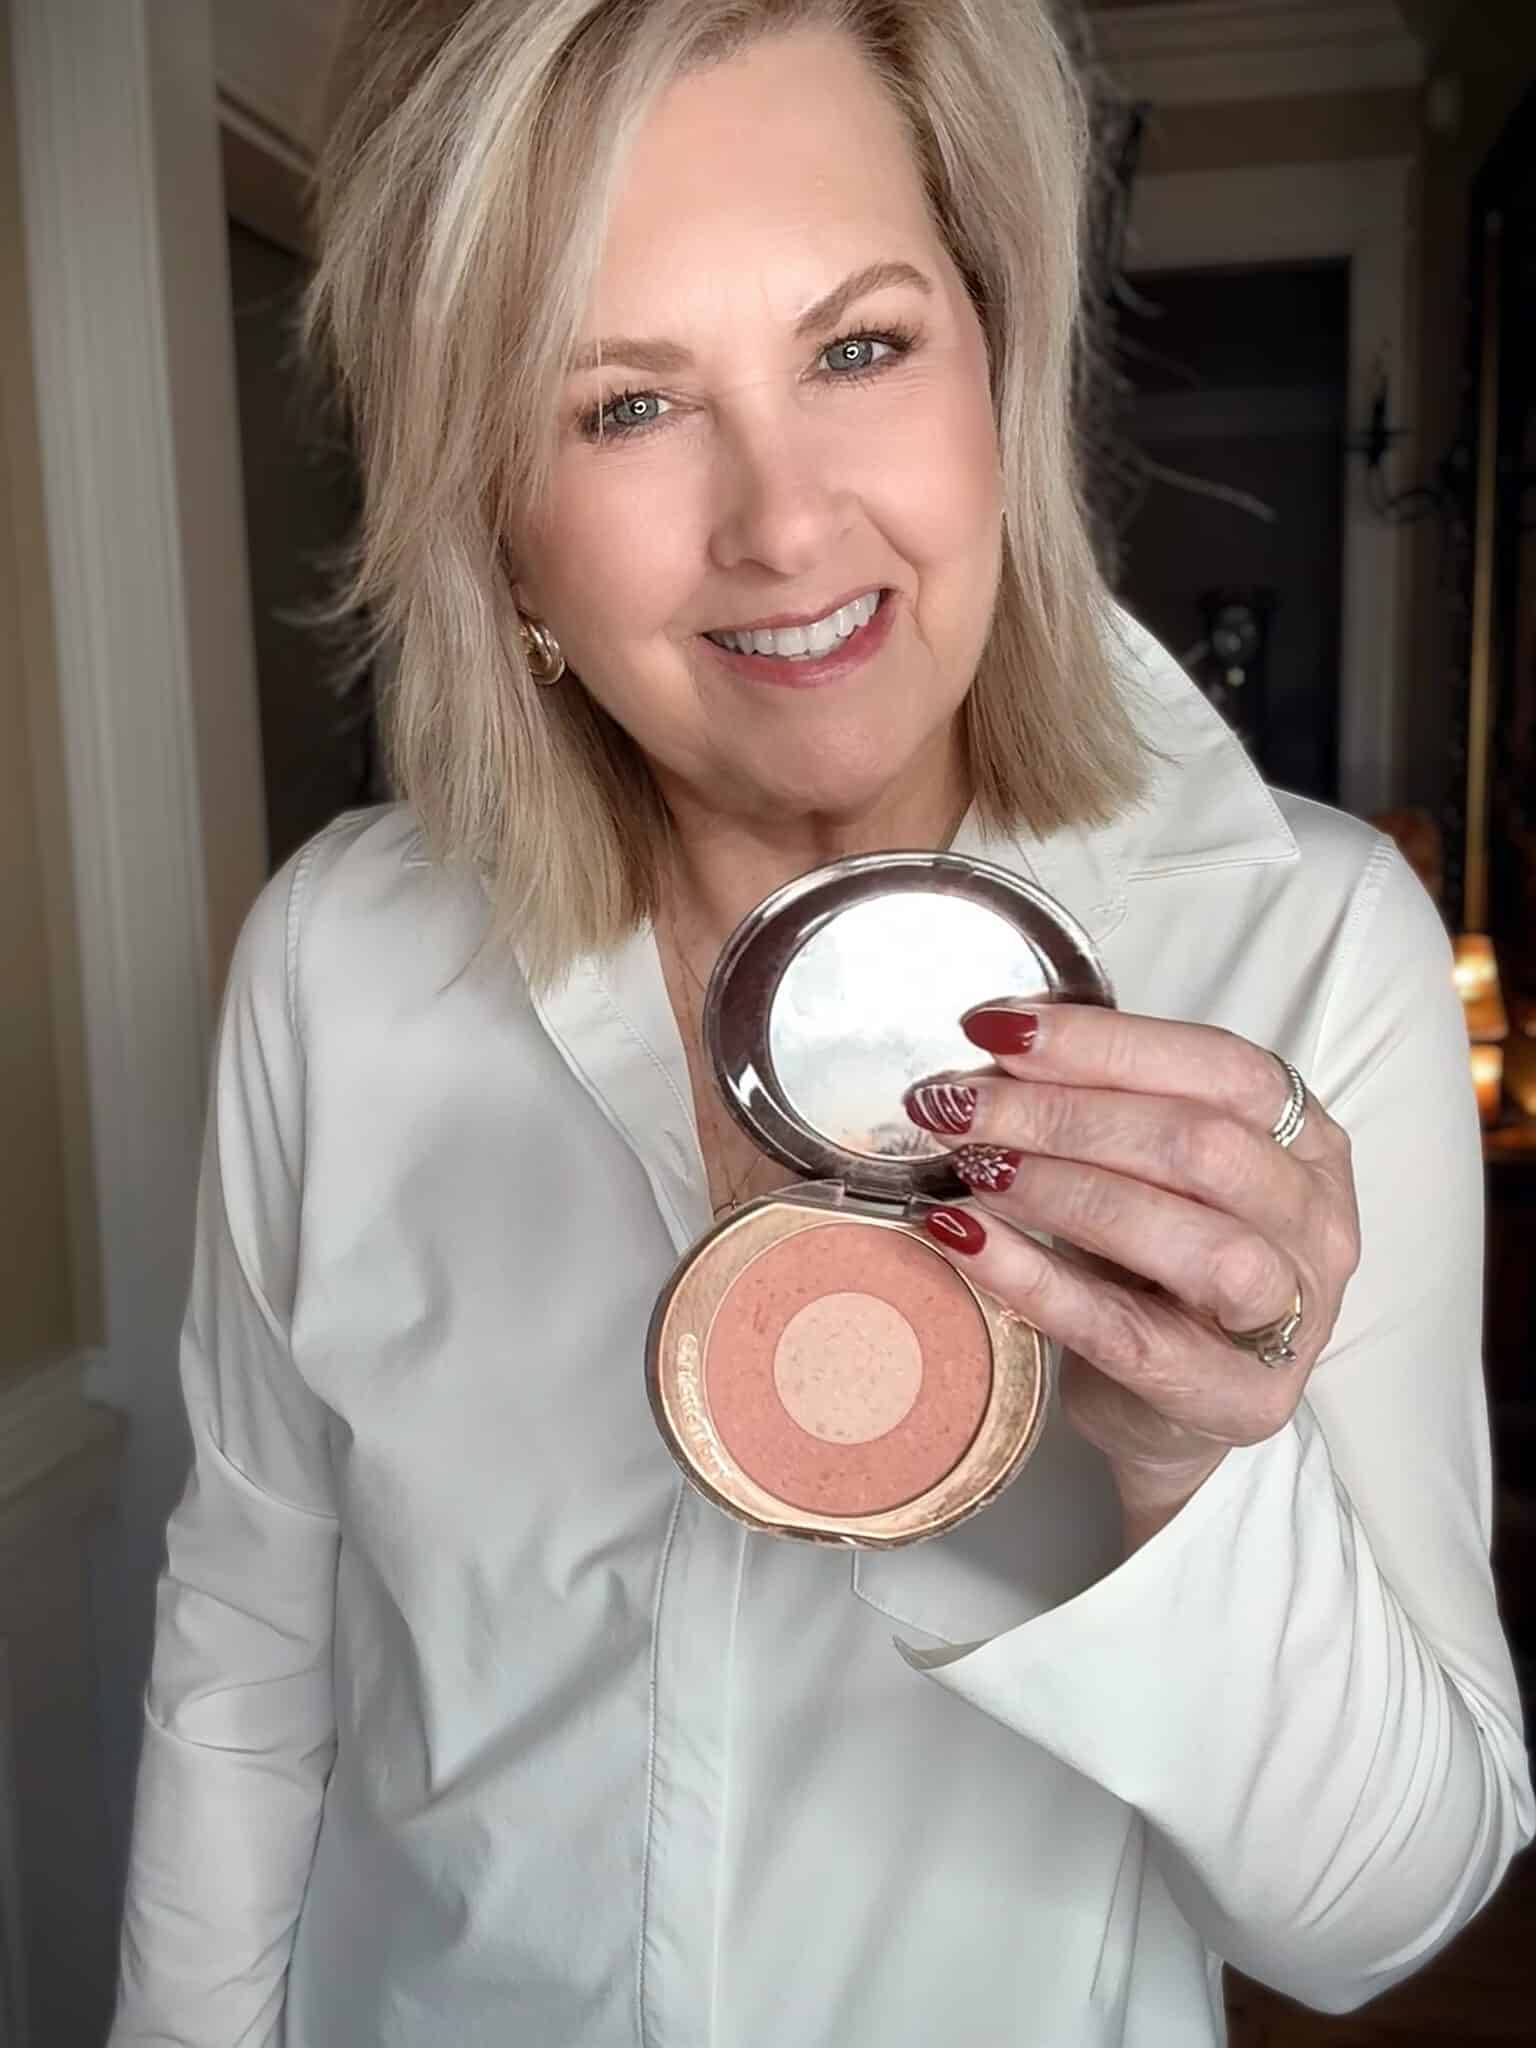
This blush is foolproof. I smile lightly and apply it to the outer edges of my cheeks, blending upward toward my temples. The two-tone design gives you a soft glow without looking sparkly or overdone.
This is the step that makes you look healthy and alive, even if you slept terribly the night before. Trust me.
Step 7: Brows, But Make Them Easy
Tarte Sketch & Set Eyebrow Definer Pencil & Tinted Gel
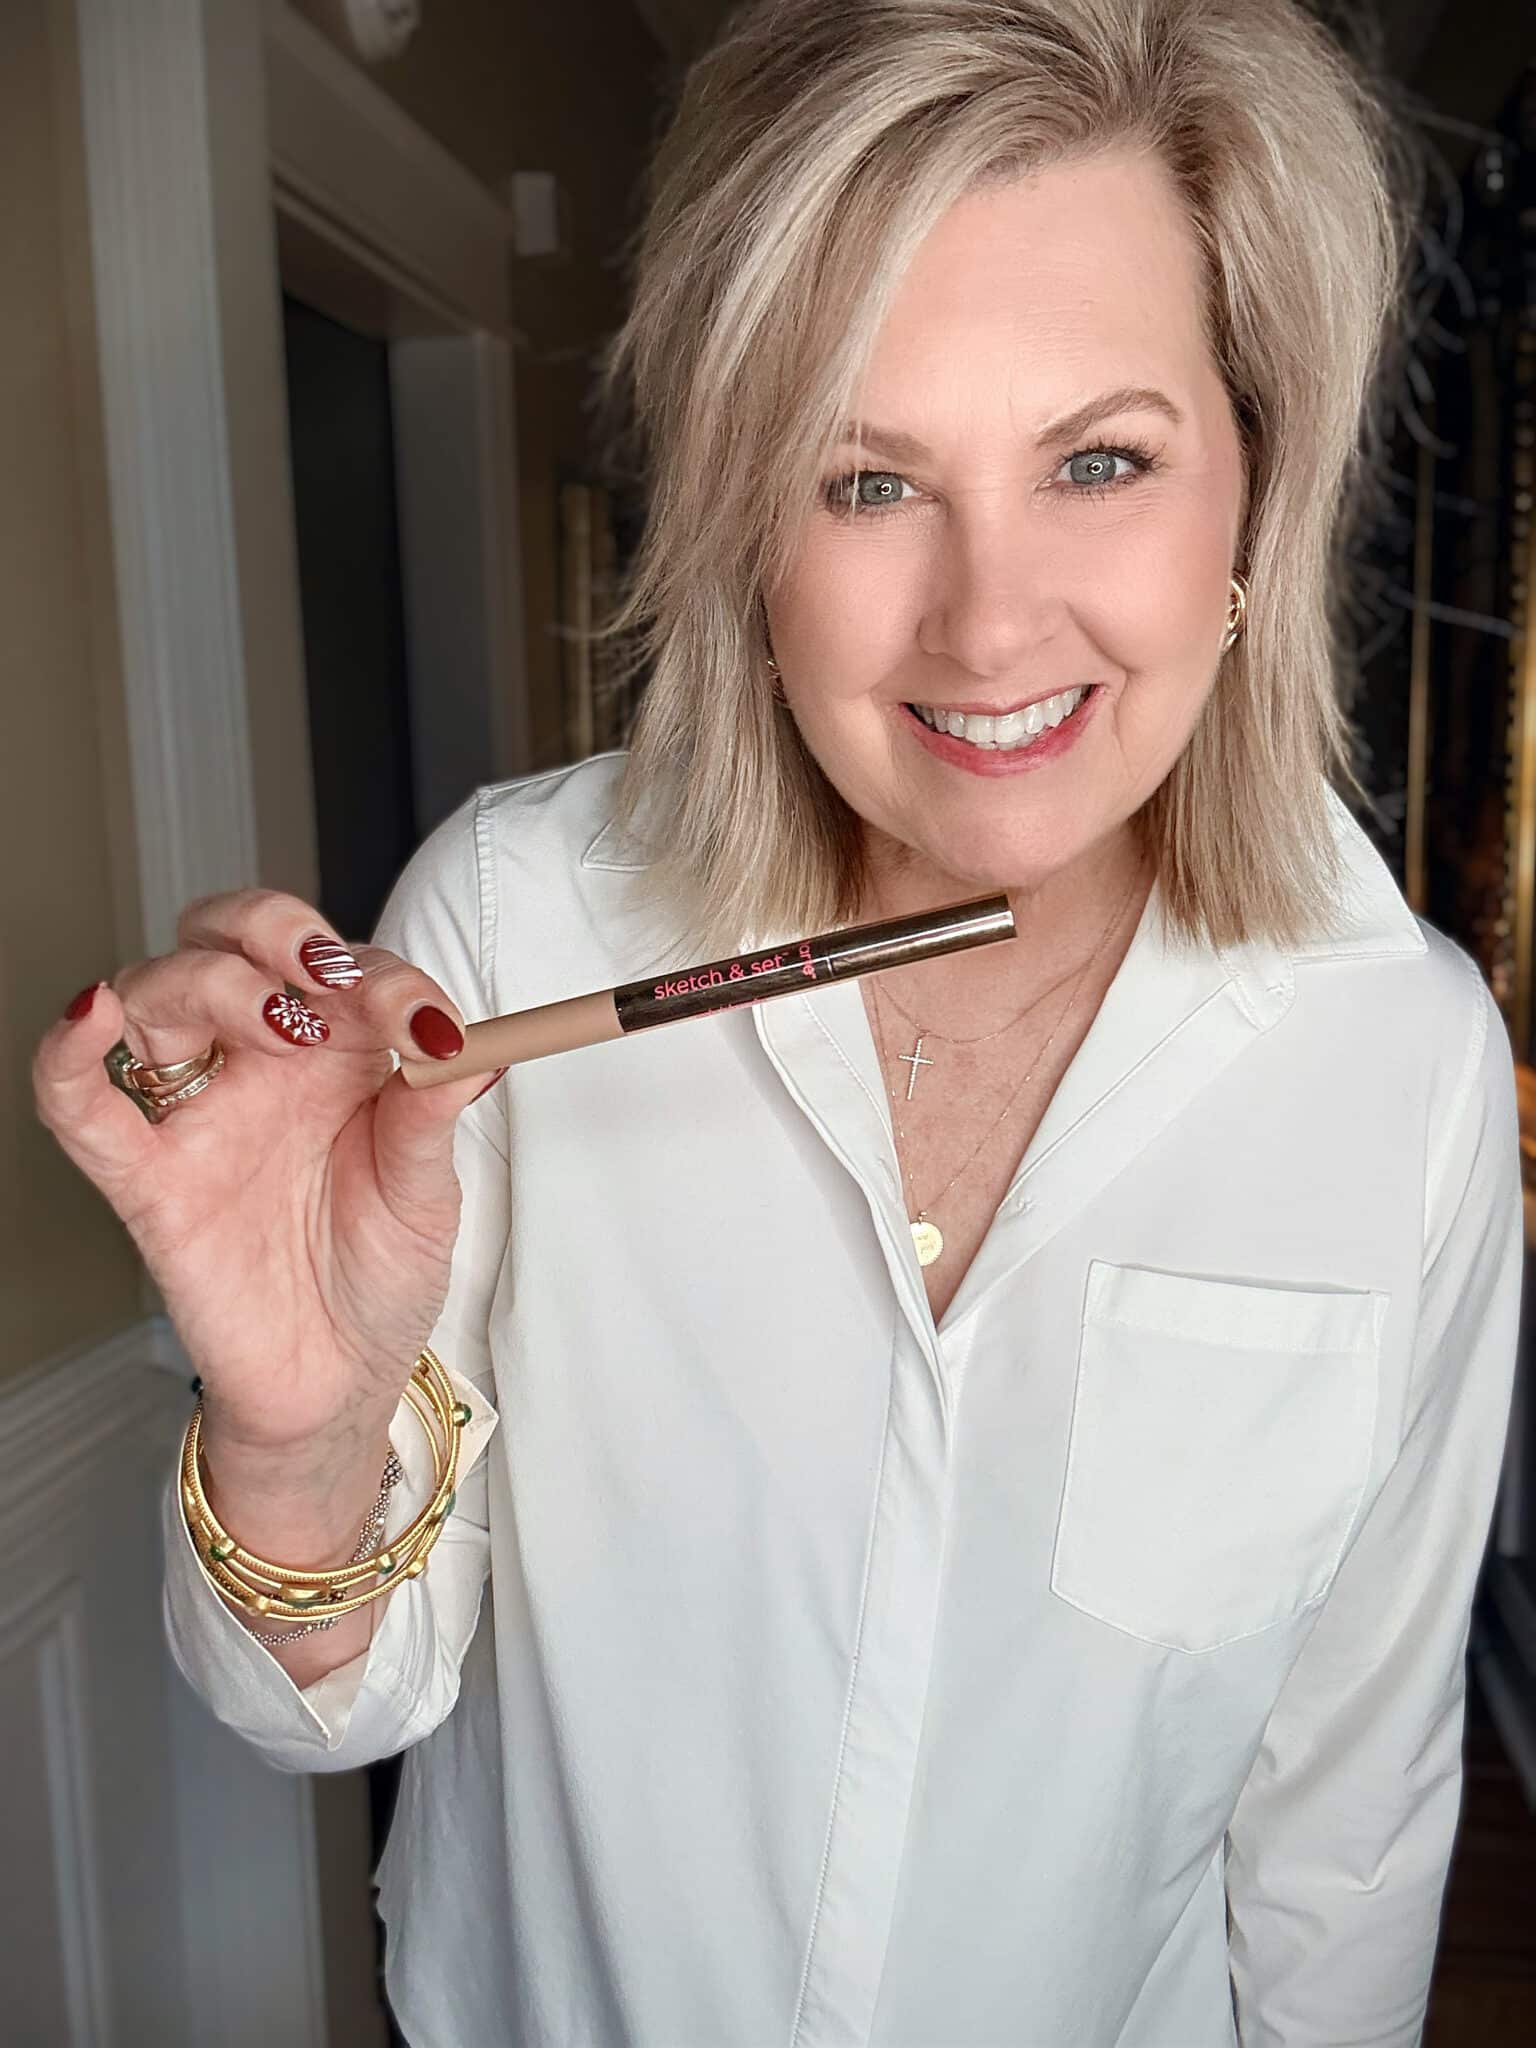
I fill in sparse areas with the pencil first, using short, light strokes. Then I go over my brows with the tinted gel to keep everything in place. This Duo makes it super simple!
Brows frame your face, but they shouldn’t look harsh. This combo keeps them soft and natural, not drawn on. Remember, your brows are sisters, not twins. They don’t have to look identical, just similar.
Step 8: Simple Eye Color You Can’t Mess Up
ILIA Mini Eye Stylus Trio Eyeshadow Stick Set
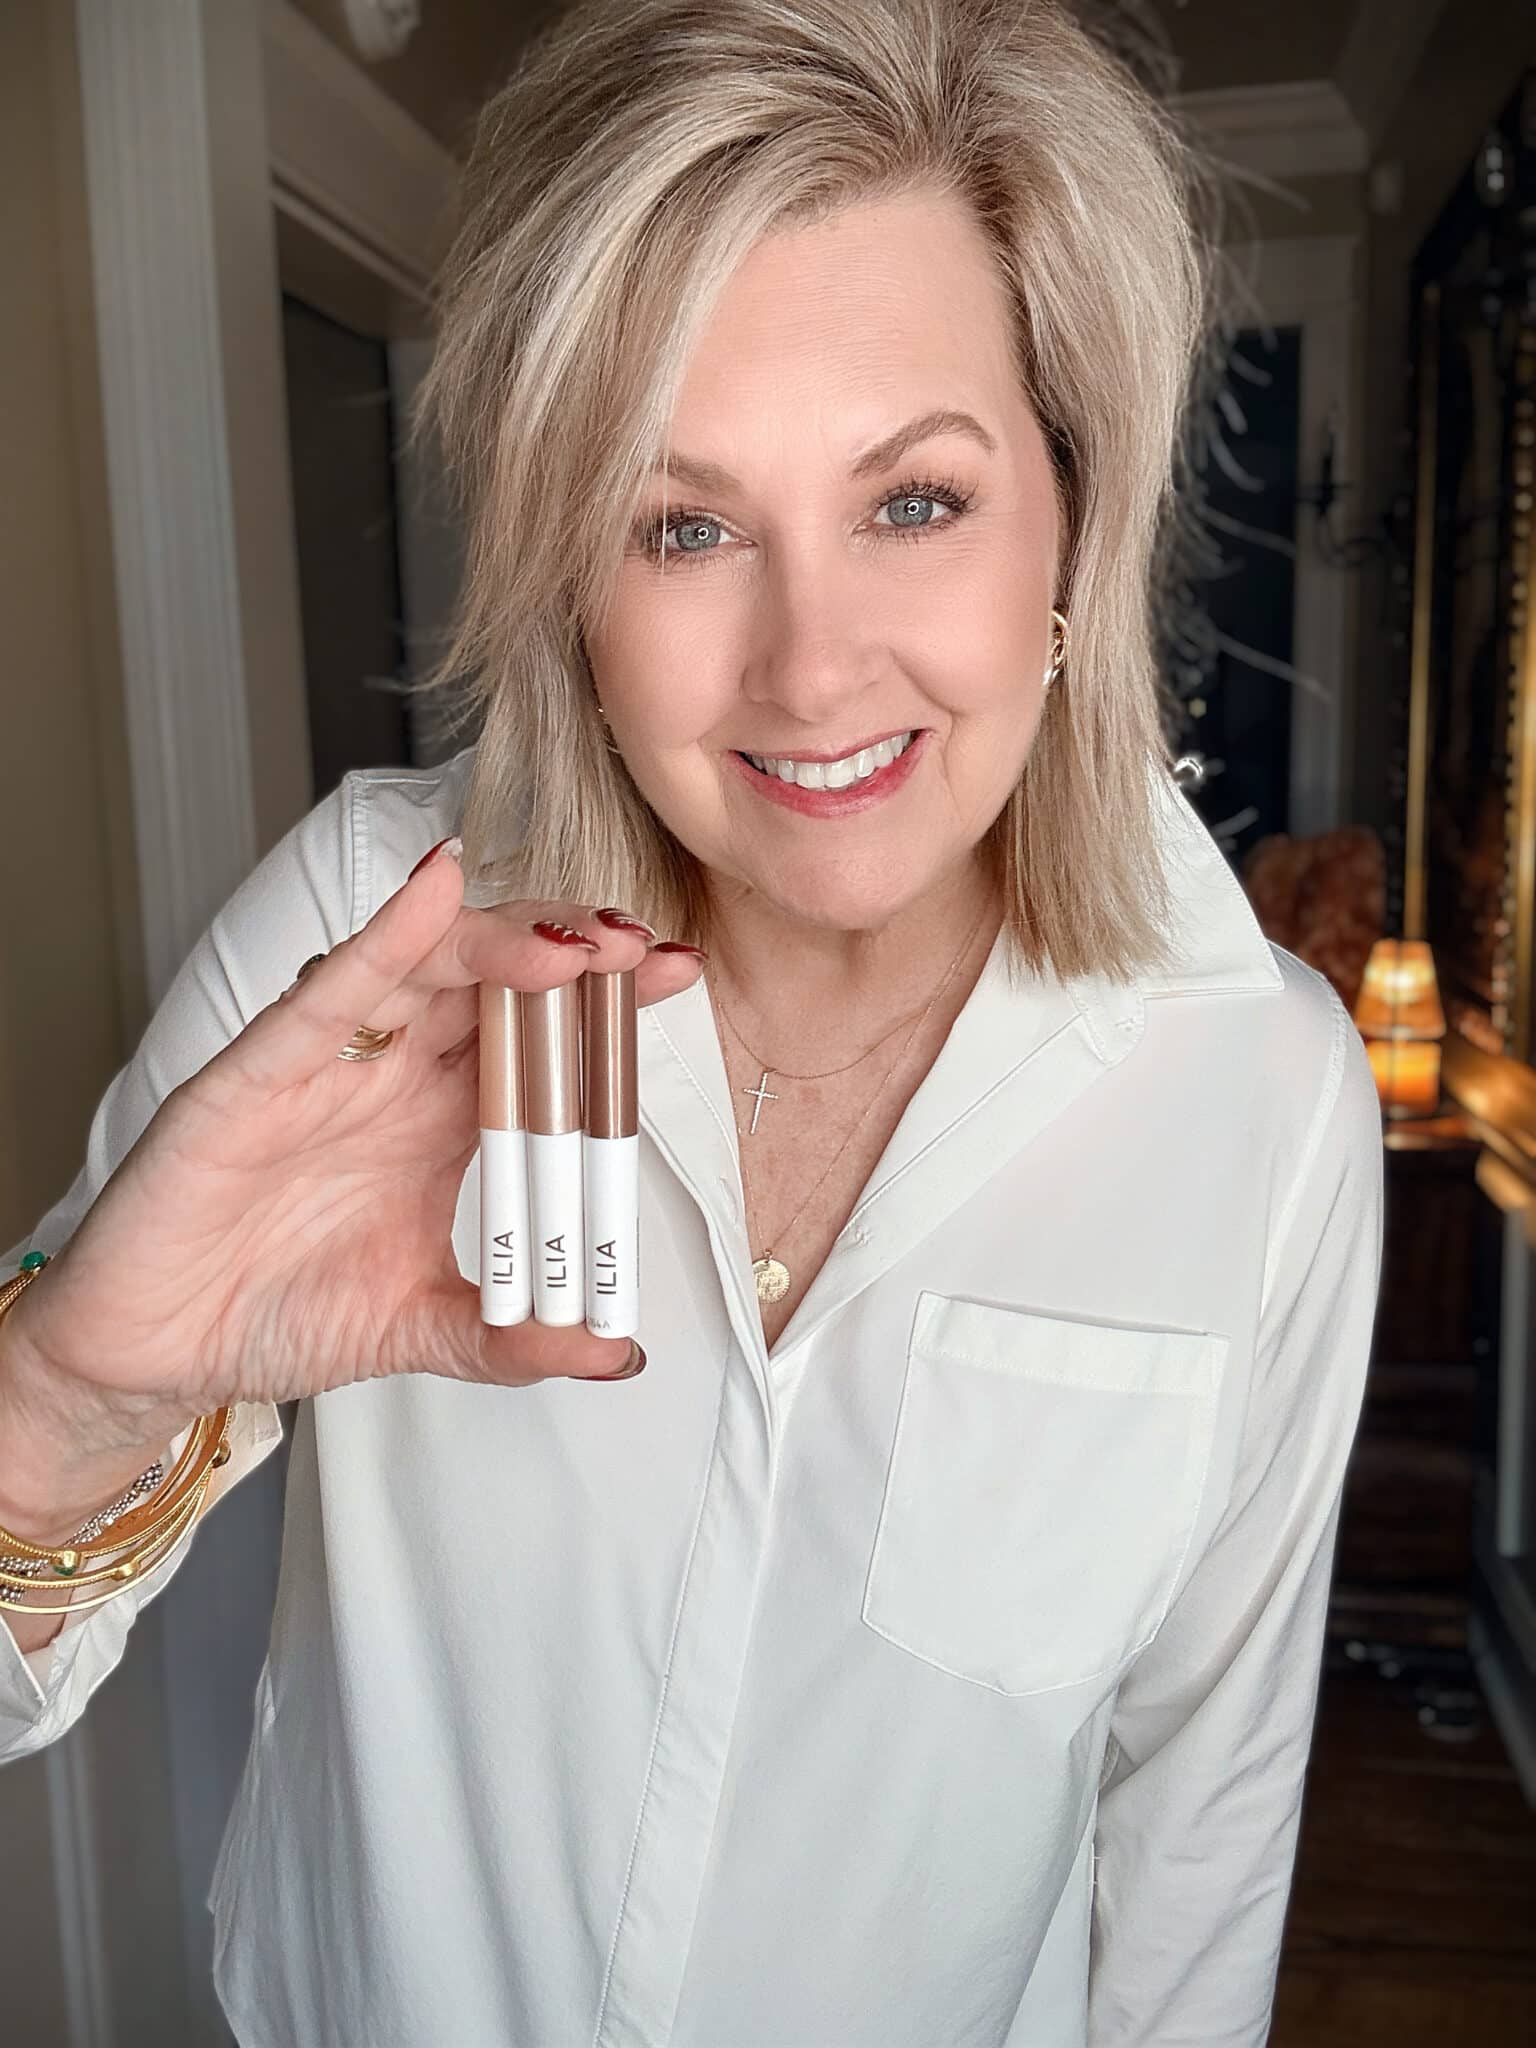
These creamy eyeshadows are perfect for everyday wear. You can swipe one shade across the lid, blend it with your finger, and be done. No fallout, no fuss. Or do it like I did: use the lighter shade in the inner corner of the eye, the medium shade across the lid, and the darker shade in the crease and outer edge. Blend well for a layered look.
If you struggle with eyeshadow or just don’t want to deal with brushes, this is an easy win.
Step 9: Mascara That Actually Shows Up
Huda Beauty 1 Coat WOW Extra Volumizing and Lifting Mascara
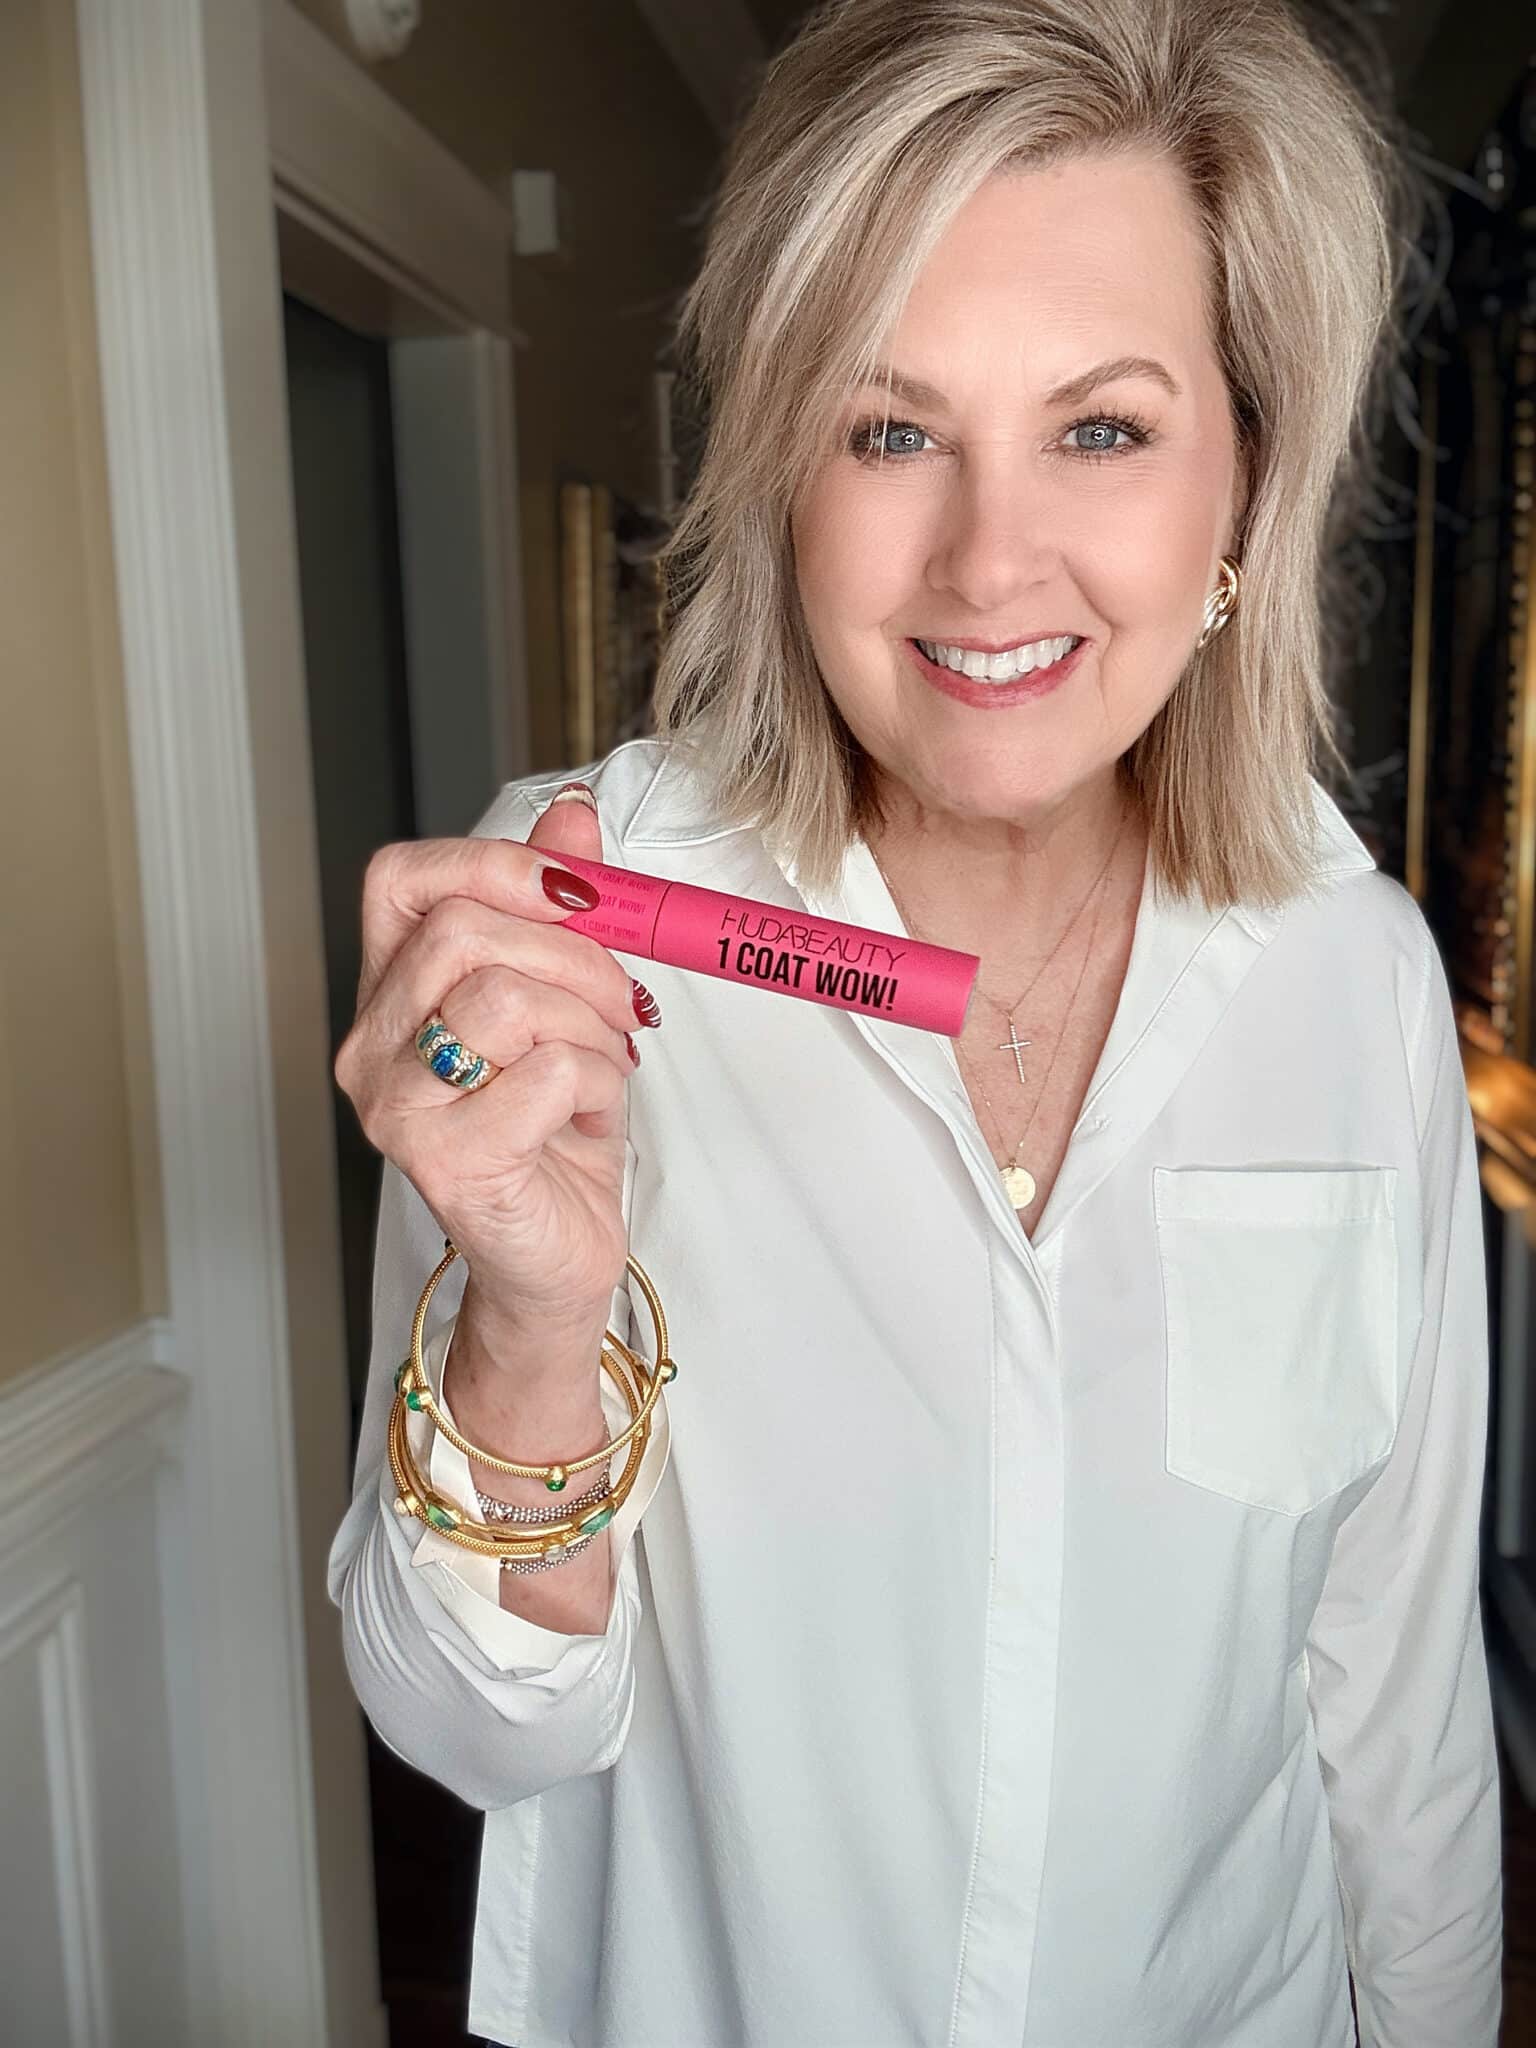
One coat really is enough of this Volumizing and Lifting Mascara. I start at the base of my lashes and wiggle upward. This gives volume and lift without clumping.
If your lashes are thinning or lighter than they used to be, this makes a noticeable difference without looking heavy. I’m sold on Huda Beauty!!!
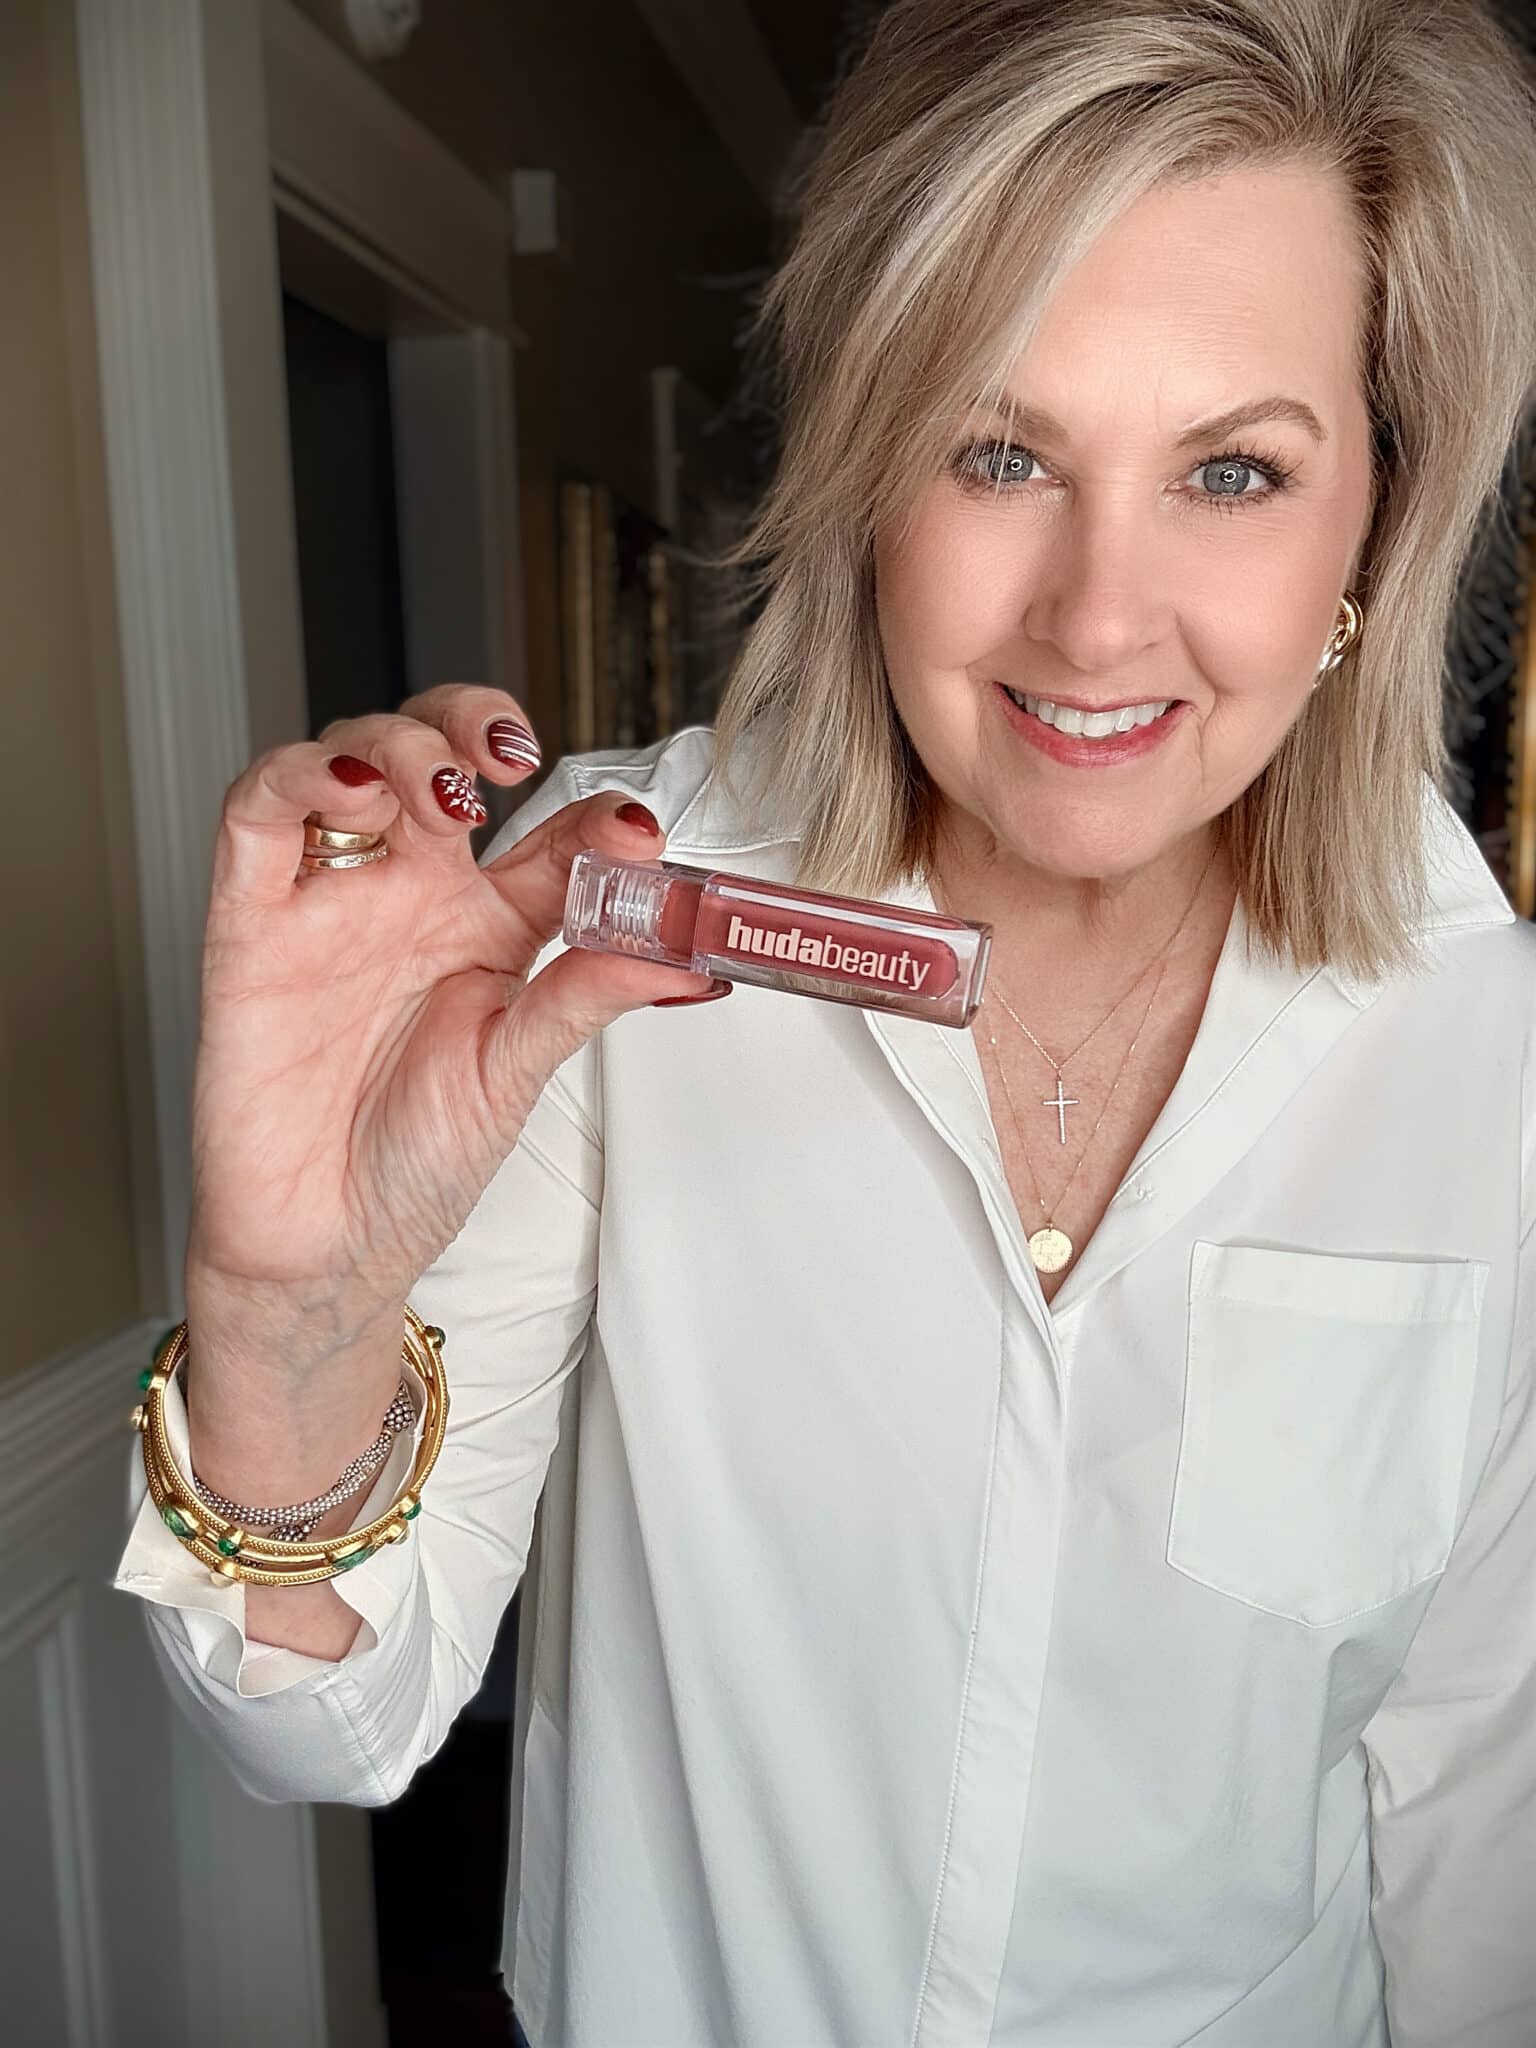
Step 10: Lips That Feel Comfortable, Not Sticky
Huda Beauty Make Out Sesh Lip Stain and Lip Gloss Duo
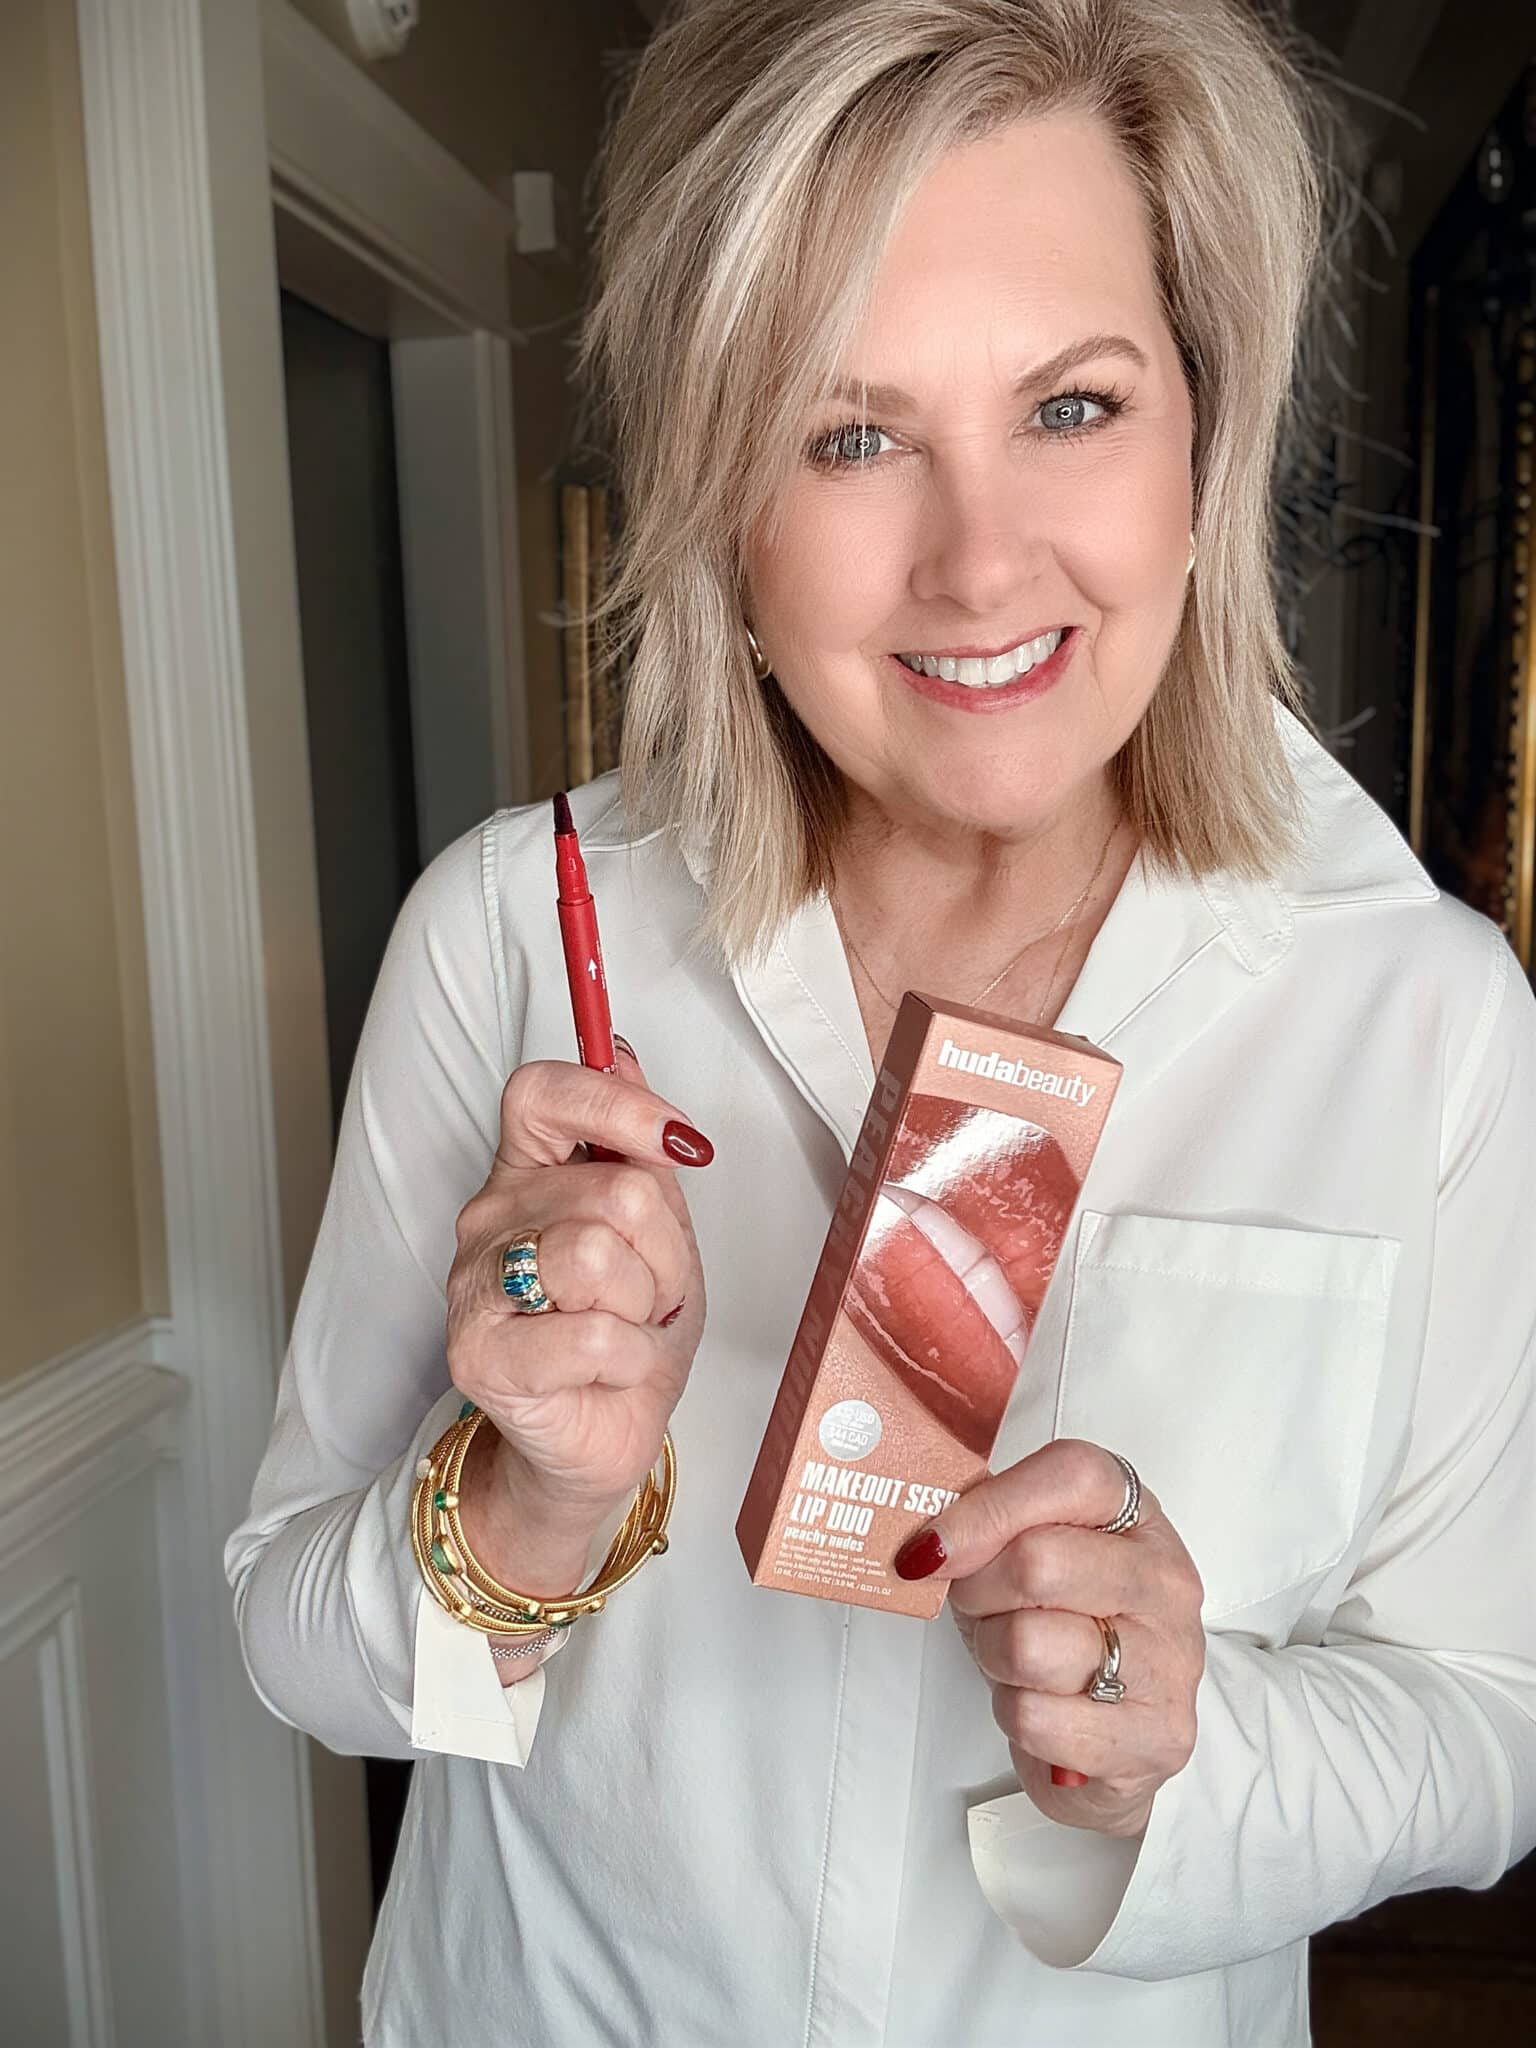
As we age, lips lose color and fullness, and matte formulas can make that more obvious. This combo avoids all of that. The stain gives long-lasting color, and the gloss brings back that healthy, hydrated look.
It’s easy, it’s flattering, and it finishes the whole makeup routine in a way that still feels natural, not overdone.
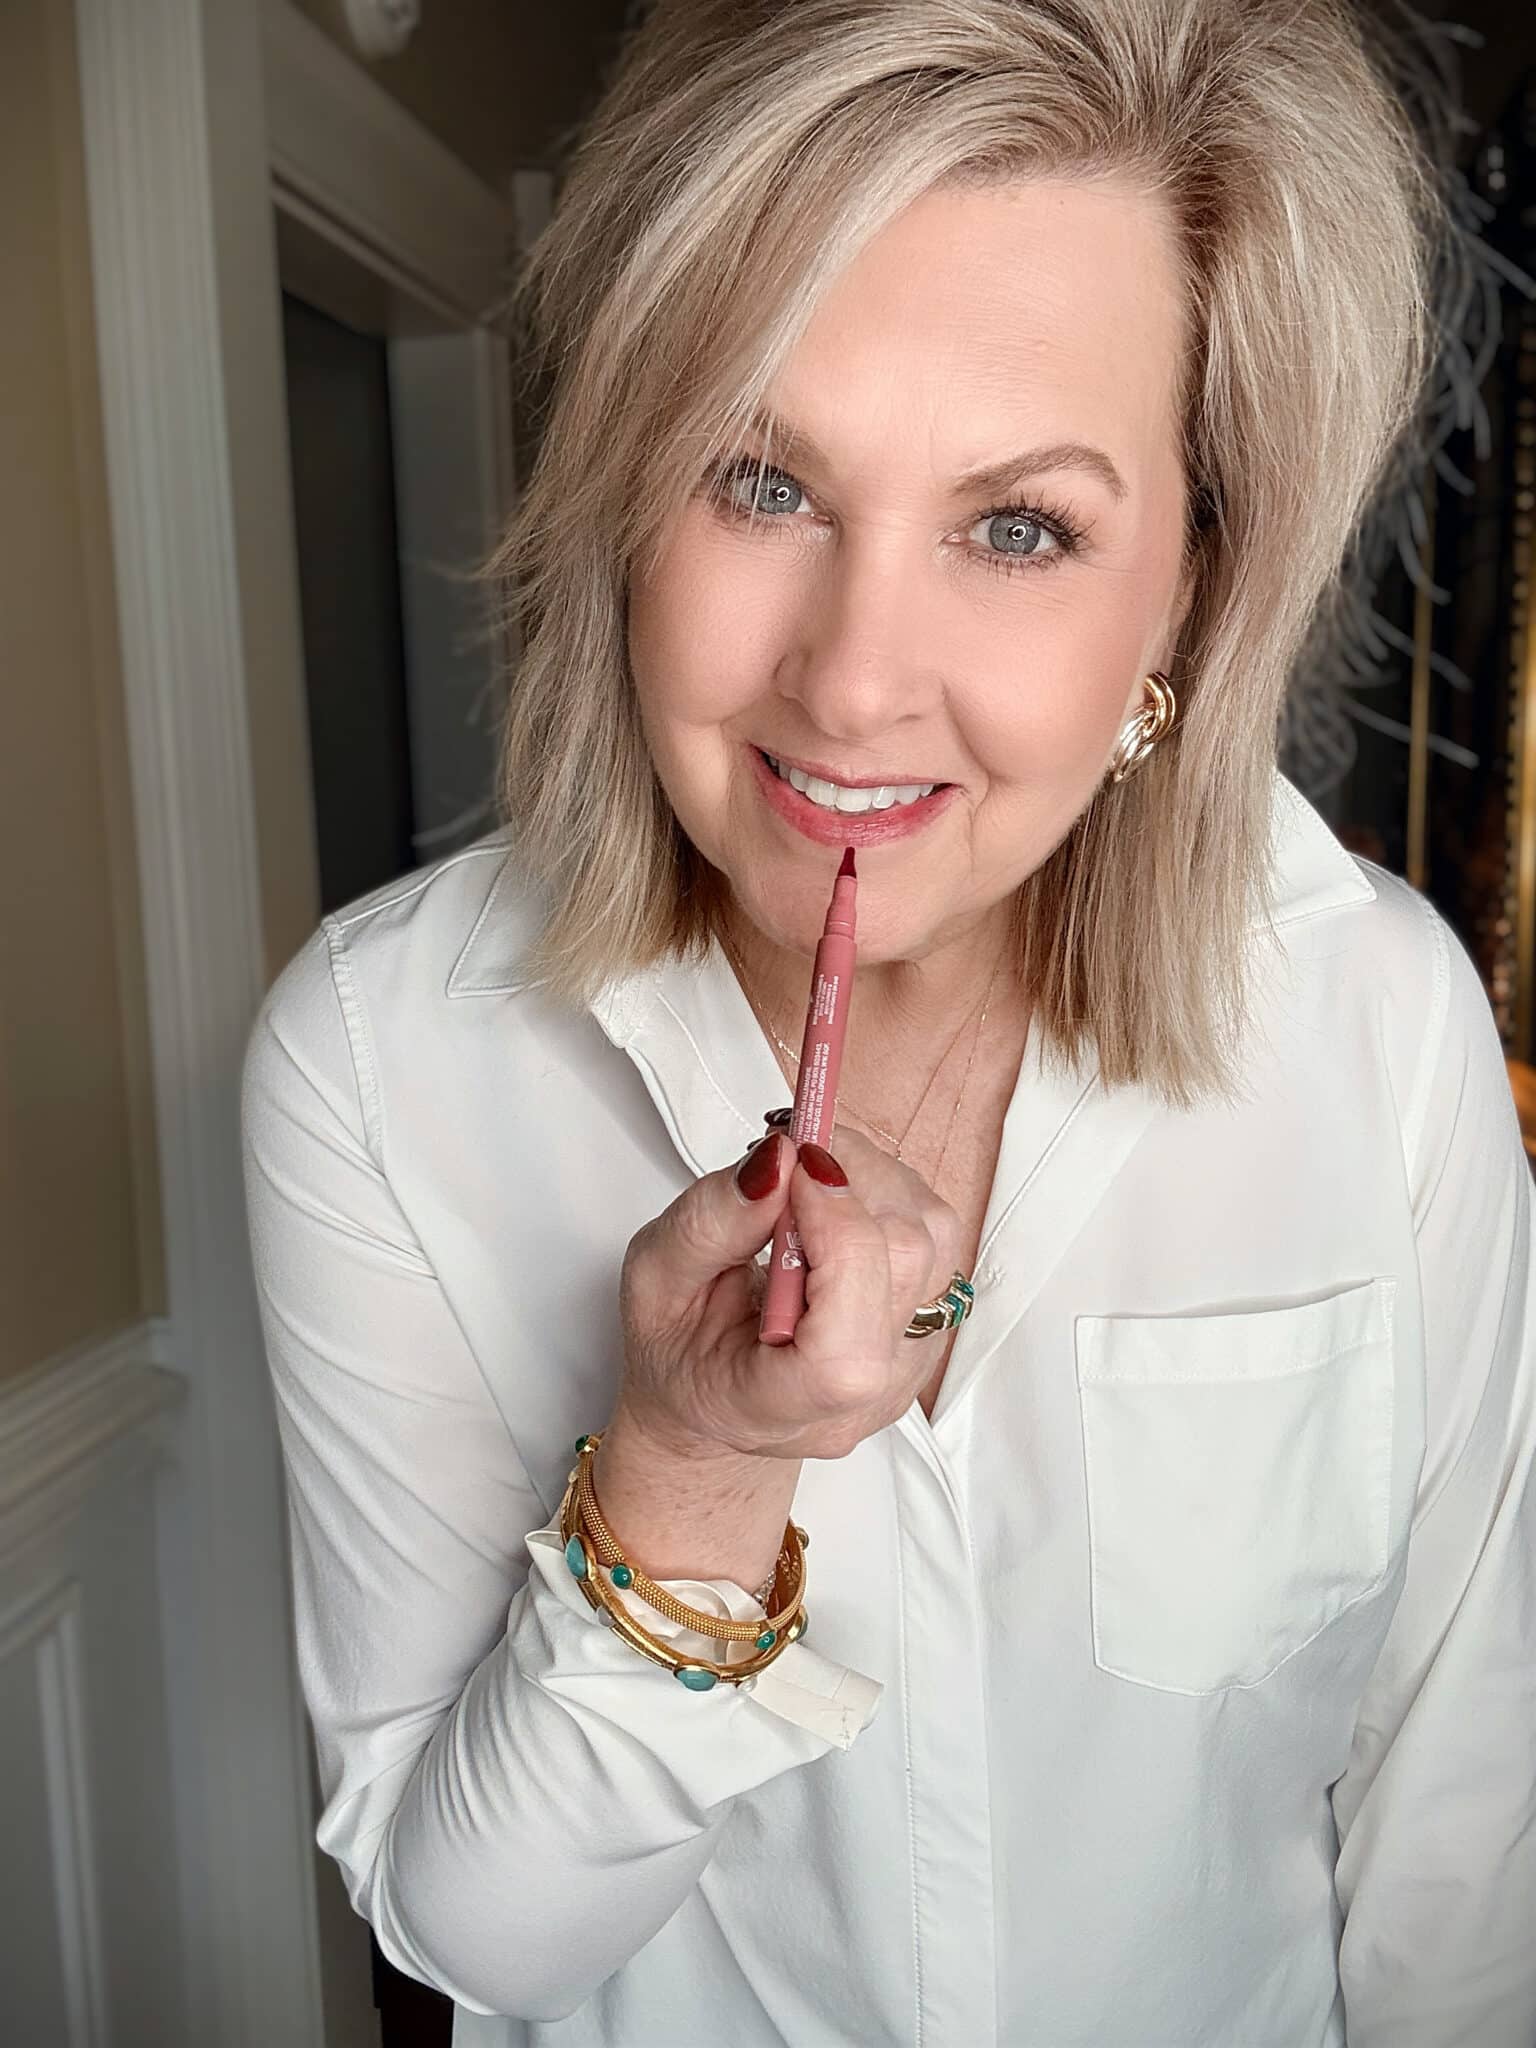
I start with the lip stain. I use the pointed tip to lightly trace my natural lip line, then fill in the rest of my lips. No heavy outlining, no overthinking. The stain gives your lips color without that thick, lipstick feeling, and it doesn’t settle into lines or look dry. I let it sit for just a minute so it sets before adding anything on top.
On days when I want a very natural look, I’ll stop right here. The stain alone gives that “my lips, but better” effect that works for everyday errands or casual lunches.
Then I go in with the lip gloss, but only in the center of my lips. This is my little trick to keep lips looking fuller without looking shiny or sticky. I press my lips together once, and that’s it. The gloss adds softness and comfort without sliding all over my face, which is something I refuse to deal with at this stage of life. Lol!
This duo is great because you get staying power from the stain and hydration from the gloss. No constant reapplying, no dry lips, and no mirror panic halfway through the day.
Final Step: Set It All Again
To finish my look, I add another light mist of the Charlotte Tilbury Setting Spray. This melts everything together and takes away that powdery look.
If you’re still looking for a few small gifts, check out my Stocking Stuffers You’ll Love From Sephora at Kohl’s post.
Why This Routine Works for Me
This makeup routine from Sephora at Kohl’s is polished but realistic. It doesn’t require perfect lighting, a magnifying mirror, or a degree in makeup artistry. It works with mature skin instead of fighting it, and everything layers beautifully without feeling heavy.
If you’ve ever thought, “I don’t even know where to start anymore,” this is a great place to begin.

Using the setting spray before and after is genius!!! It makes all the difference. I forgot that I was supposed to spray before my primer. So, for days I’ve been cleansing, applying my moisturizer, then my primer – then the setting spray …… waiting and then applying the rest of my makeup. That works too!!! What do you think of that routine? Or would it be best to apply the setting spray before moisturizer & primer? Thanks, Tania! You look gorgeous! Ann
I usually spray before the primer, but not always. I’m not sure it makes that big of a difference either way.
I’ll admit you look amazing but the majority of these products are very expensive. Perhaps you could share tips with less expensive products. There are plenty out there that might achieve a similar look with a much smaller price tag. My limited budget would appreciate it!
I’ve done this post on makeup, and this one on skincare.
I used to love the makeup tutorial videos you did. Any chance of doing one for your everyday face look?
As a video? I’ll see what I can do.
You always look beautiful.